This Coconut Flour Chaffle is soft enough for sandwich bread but sturdy enough to be a burger bun! It’s the perfect nut-free, grain-free, keto bread substitute.
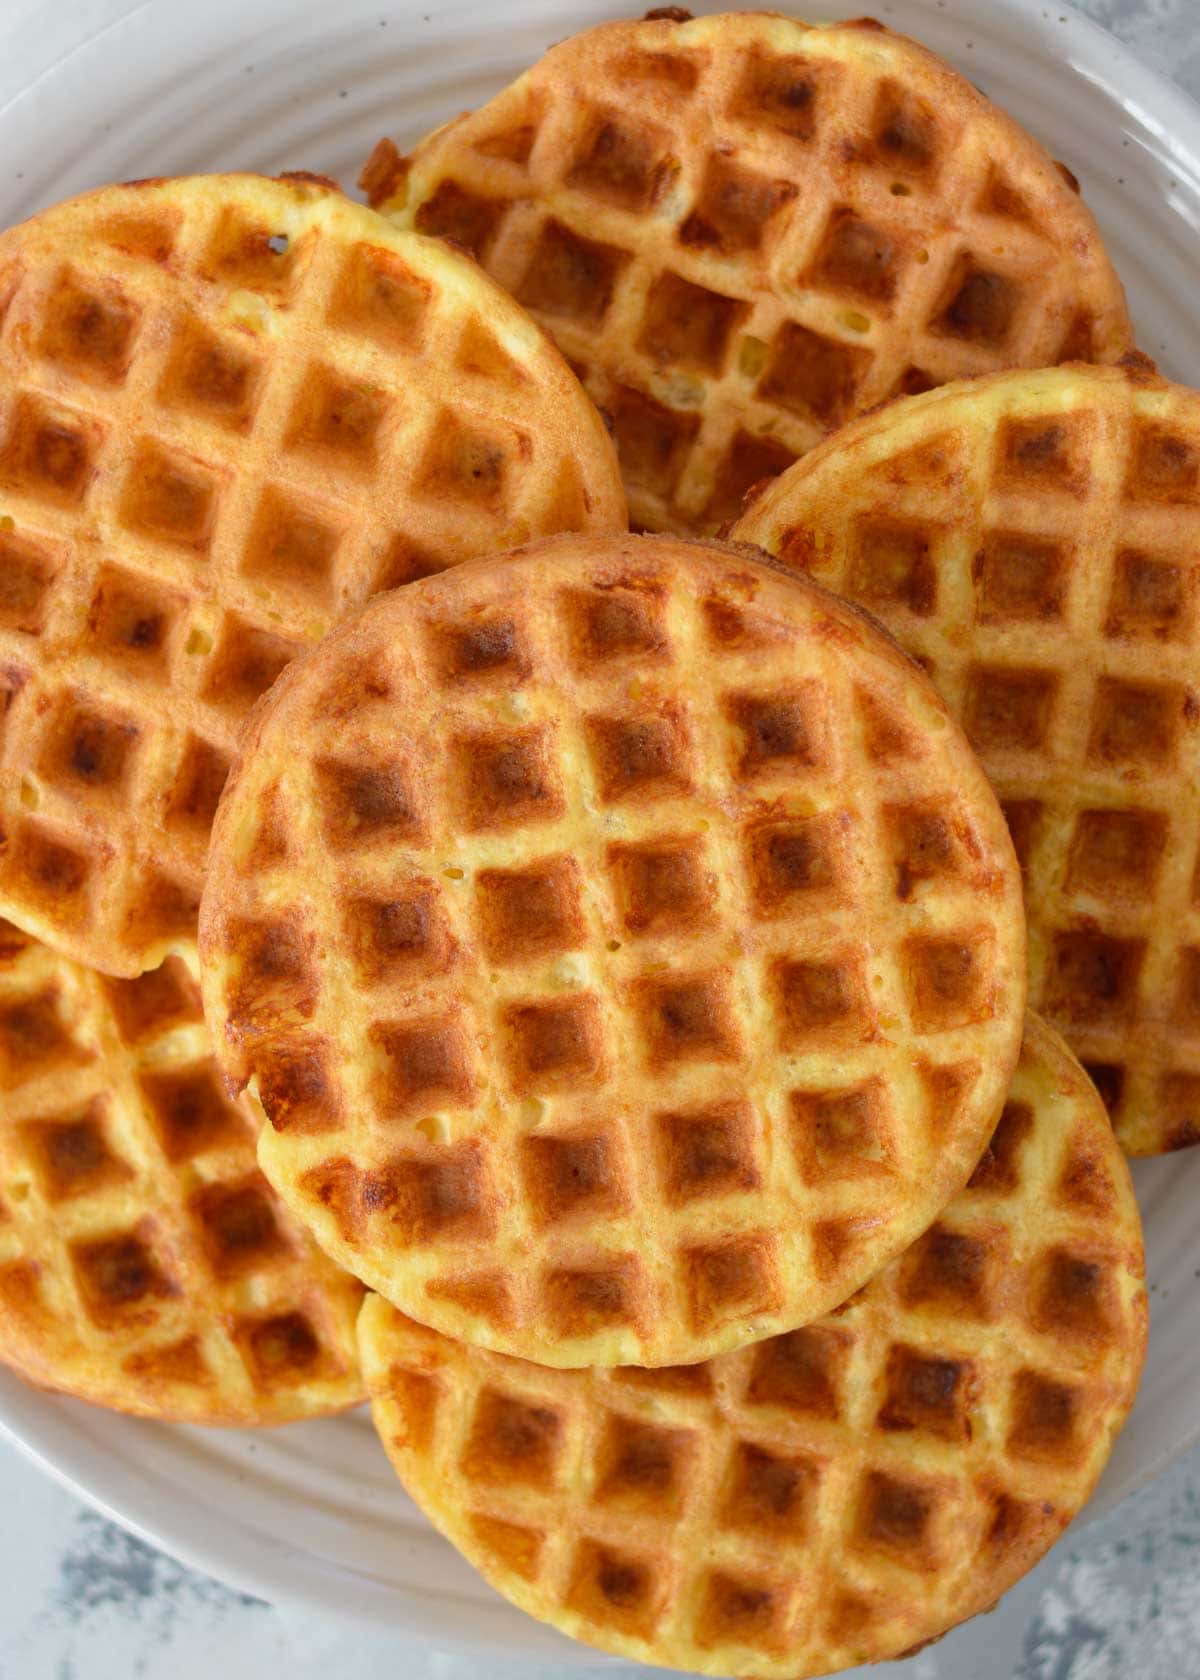
This Coconut Flour Chaffle recipe is fluffy, low-carb, gluten-free, and nut-free! You can easily swap out different cheeses for different textures and flavors, too. With each chaffle clocking in under 2 net carbs, this is a meal prep recipe that can help make keto easy! This is a nut-free variation of our original Basic Keto Chaffle Recipe.
Why you’ll love this recipe:
- Easy to Make – This recipe only requires 4 ingredients and a mini waffle maker. There are no fancy, complicated steps–Simply stir, wait, and cook! Great for beginners, busy people, meal preppers, and parents. This is a great base recipe that you can use in a ton of different ways.
- Meal Prep Friendly – Chaffles will keep for 5 days in the fridge or 3 months in the freezer. Spending 1-2 hours to make several batches at once could give you months of easy keto toasts, sandwiches, and snacks!
- Great Bread Substitute – If you’re low-carb, grain-free, keto, or gluten-free, you sometimes have to get creative! Make your favorite sandwiches, burgers, toasts, and snacks with chaffles instead… Plus, it adds a ton of protein and fat to keep you full longer than a lettuce wrap!
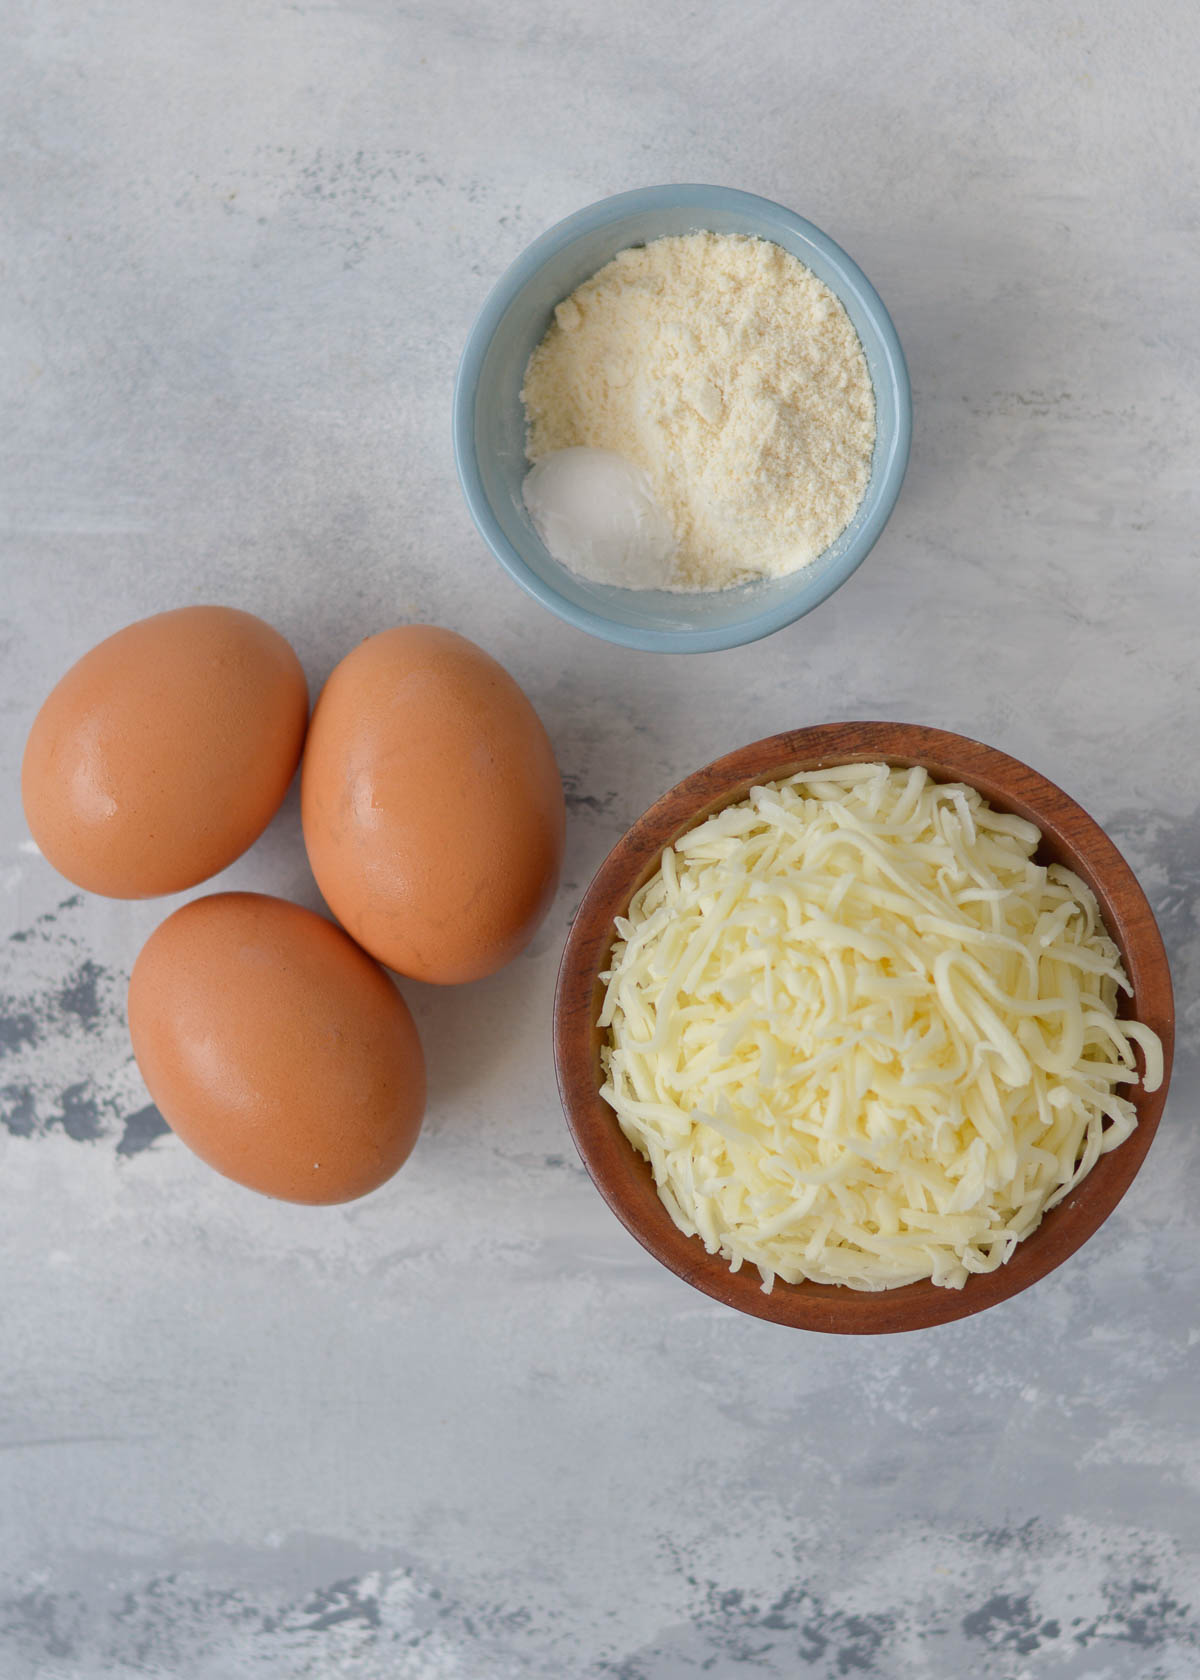
Ingredients
Here’s a quick overview of what you’ll need for this keto recipe. For exact measurements, keep scrolling down to the printable recipe card at the bottom of the page.
- Coconut flour – This recipe is specifically formulated for coconut flour and no substitutes. For almond flour, use this Basic Keto Chaffle Recipe instead. If you’re new to this ingredient, here’s everything you need to know about coconut flour. Plenty of people leave out flour entirely, but I prefer to use it because it creates a more bread-like taste and texture.
- Baking powder – This adds lift and helps create the bready, fluffy texture. Again, some people leave this out and just use eggs and cheese, but I find that dense and too “eggy” for my preferences.
- Eggs – Size large. I haven’t used any egg substitutions in this recipe.
- Cheese – You can use any shredded cheese you’d like! Mozzarella gives a very mild, neutral flavor and is great if you’re using it as a plain bun or sandwich bread. Cheddar gives a sharper, saltier flavor and crispier edges (perfect for toast, snack, or heavy sandwiches/burgers that need more substantial buns). You can experiment with mixing cheeses for a fun twist!
For this recipe, you’ll also need a Dash mini waffle maker, mixing bowl, and whisk or fork. You’re welcome to use a larger waffle maker, but this would obviously impact the number of servings you’ll get and the nutrition values of each chaffle. You can even use waffle irons in fun shapes or make Chaffle Bowls!
How to Make
This easy recipe only requires 4 ingredients and is perfect for meal prepping! Here’s a step-by-step guide to making this easy keto bread substitute.
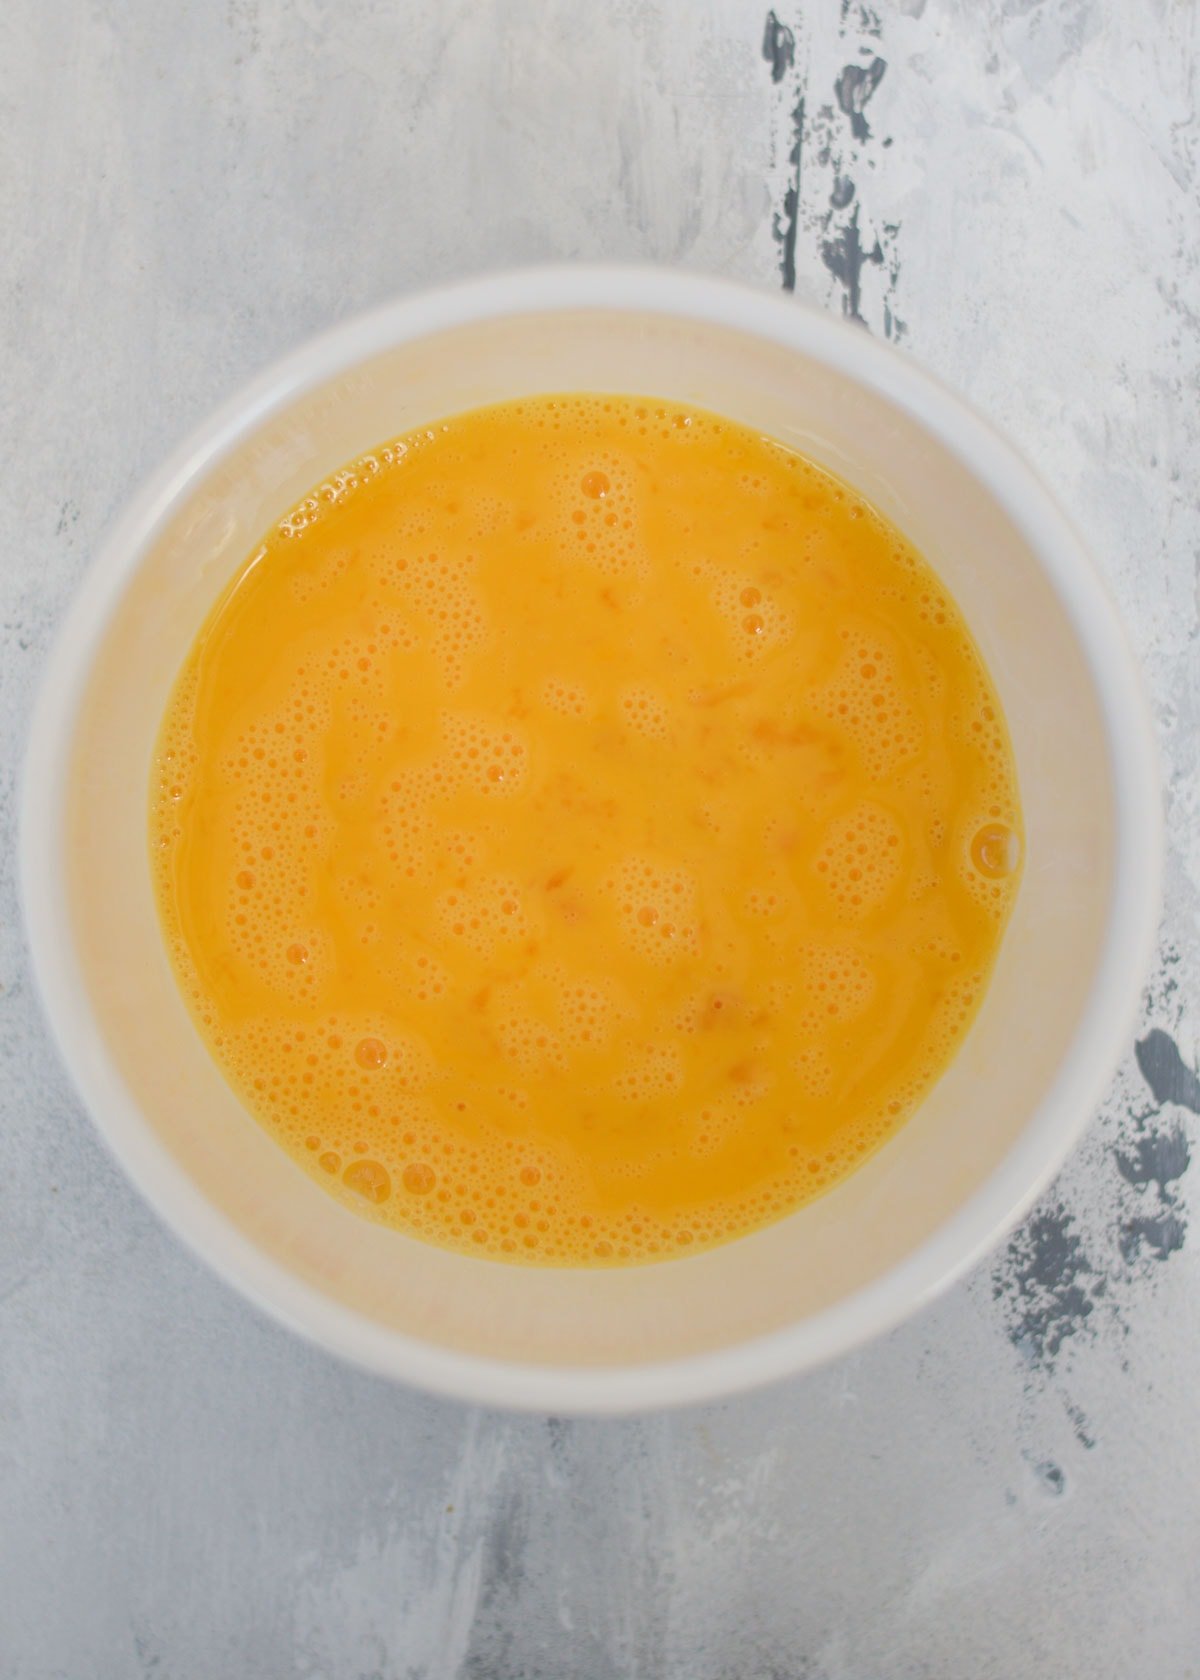
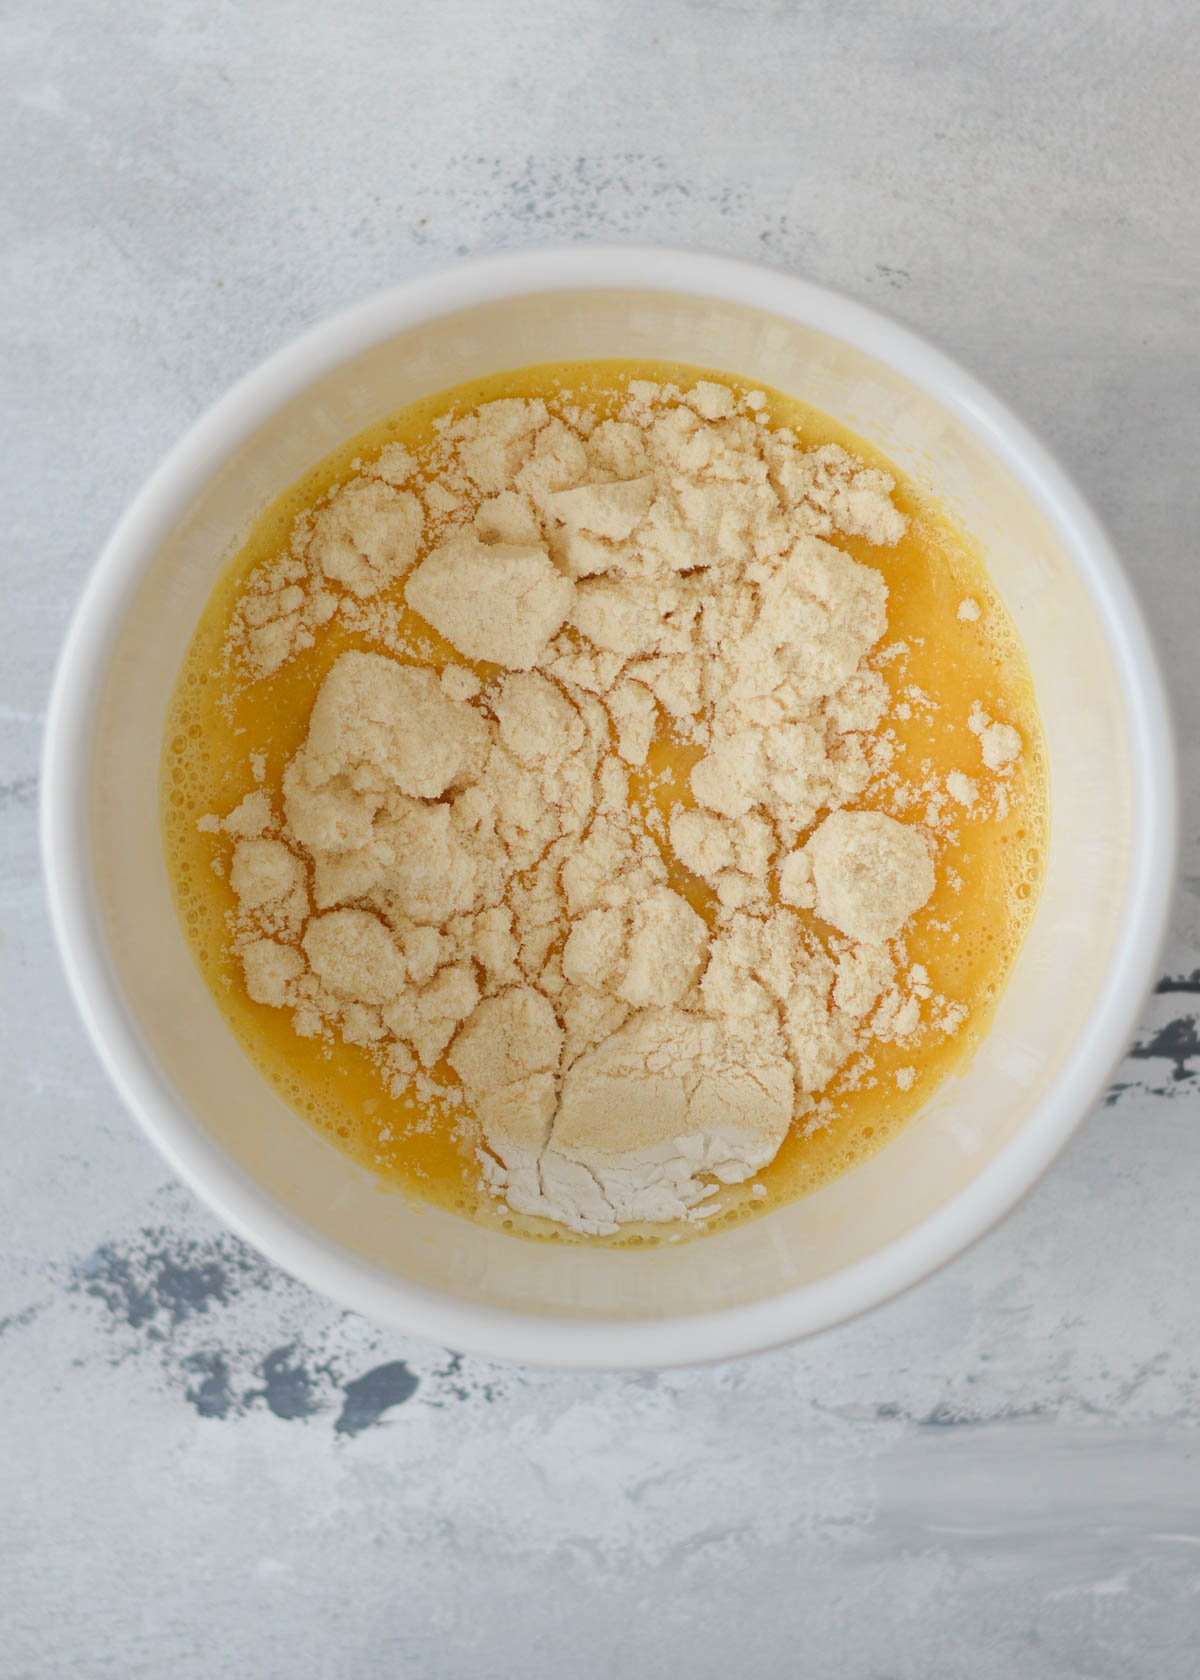
Mix batter
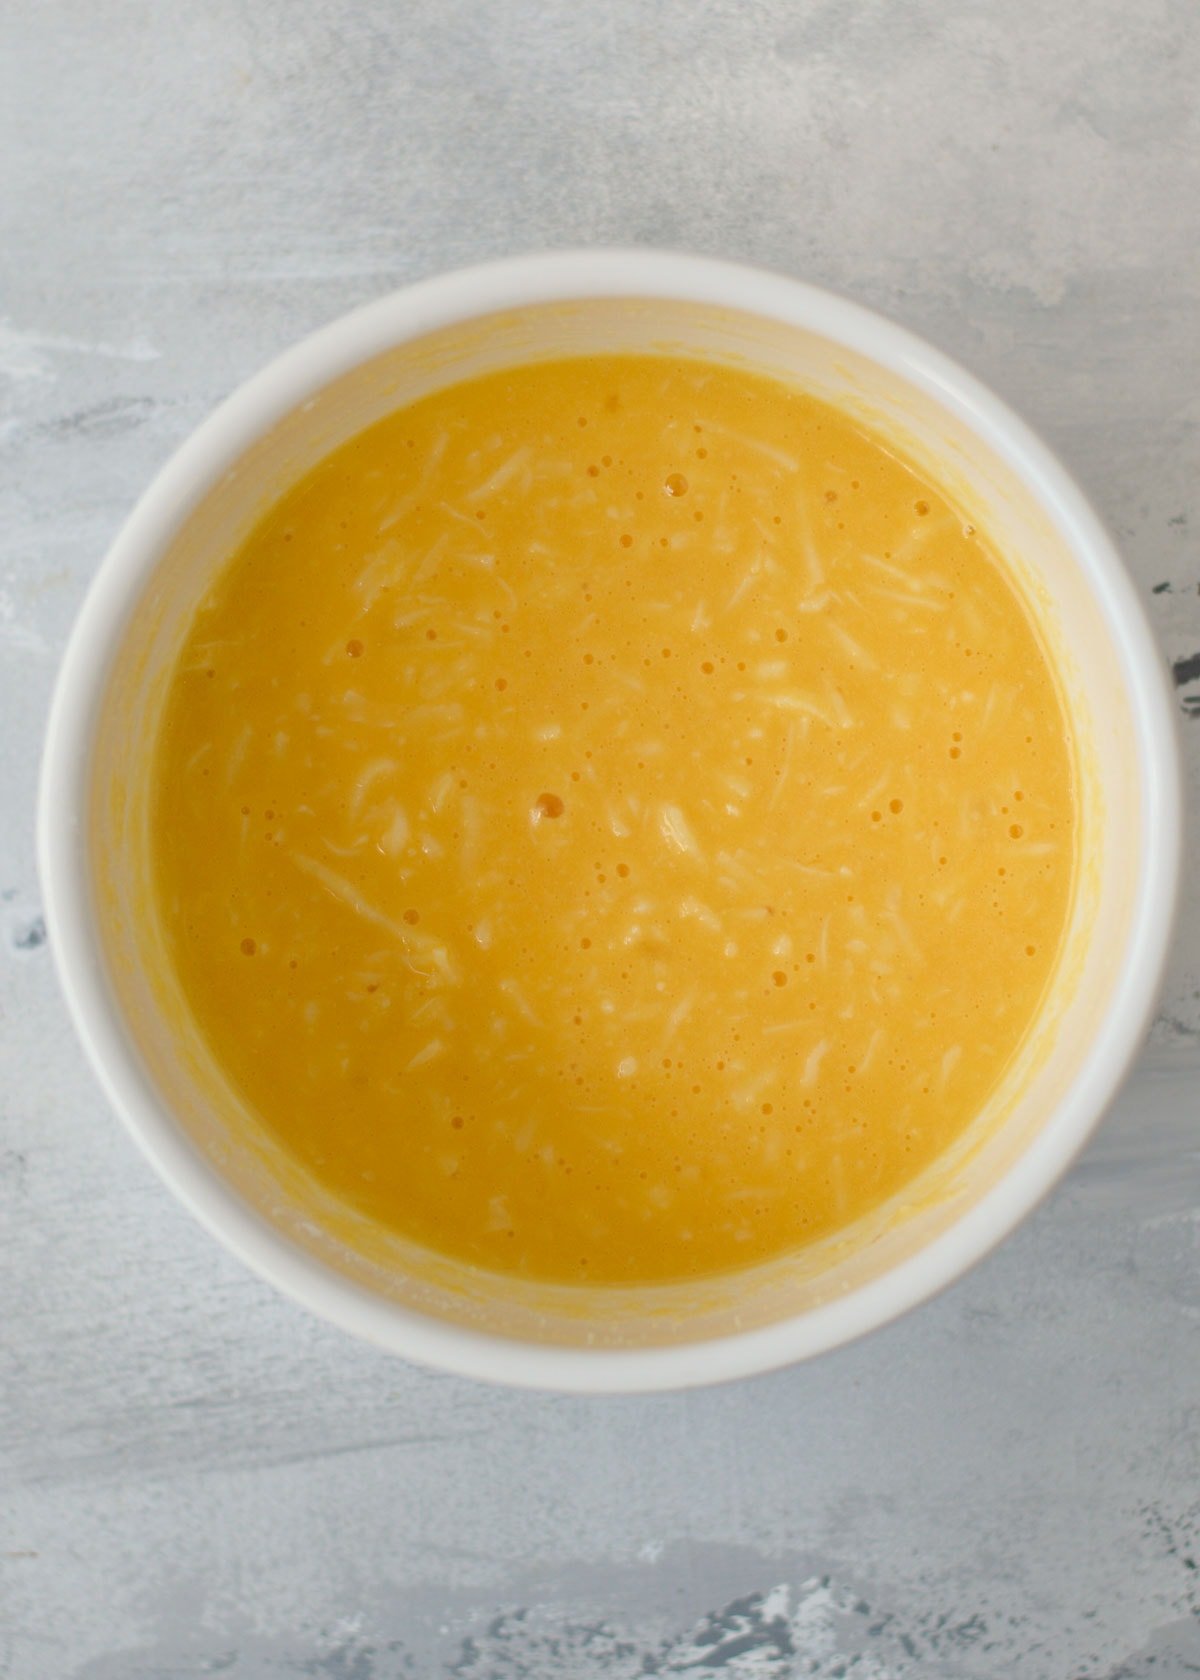
First, whisk the eggs in a small mixing bowl. Add in the coconut flour and baking soda, then mix well. Pour in the cheese and stir until well distributed through the batter.
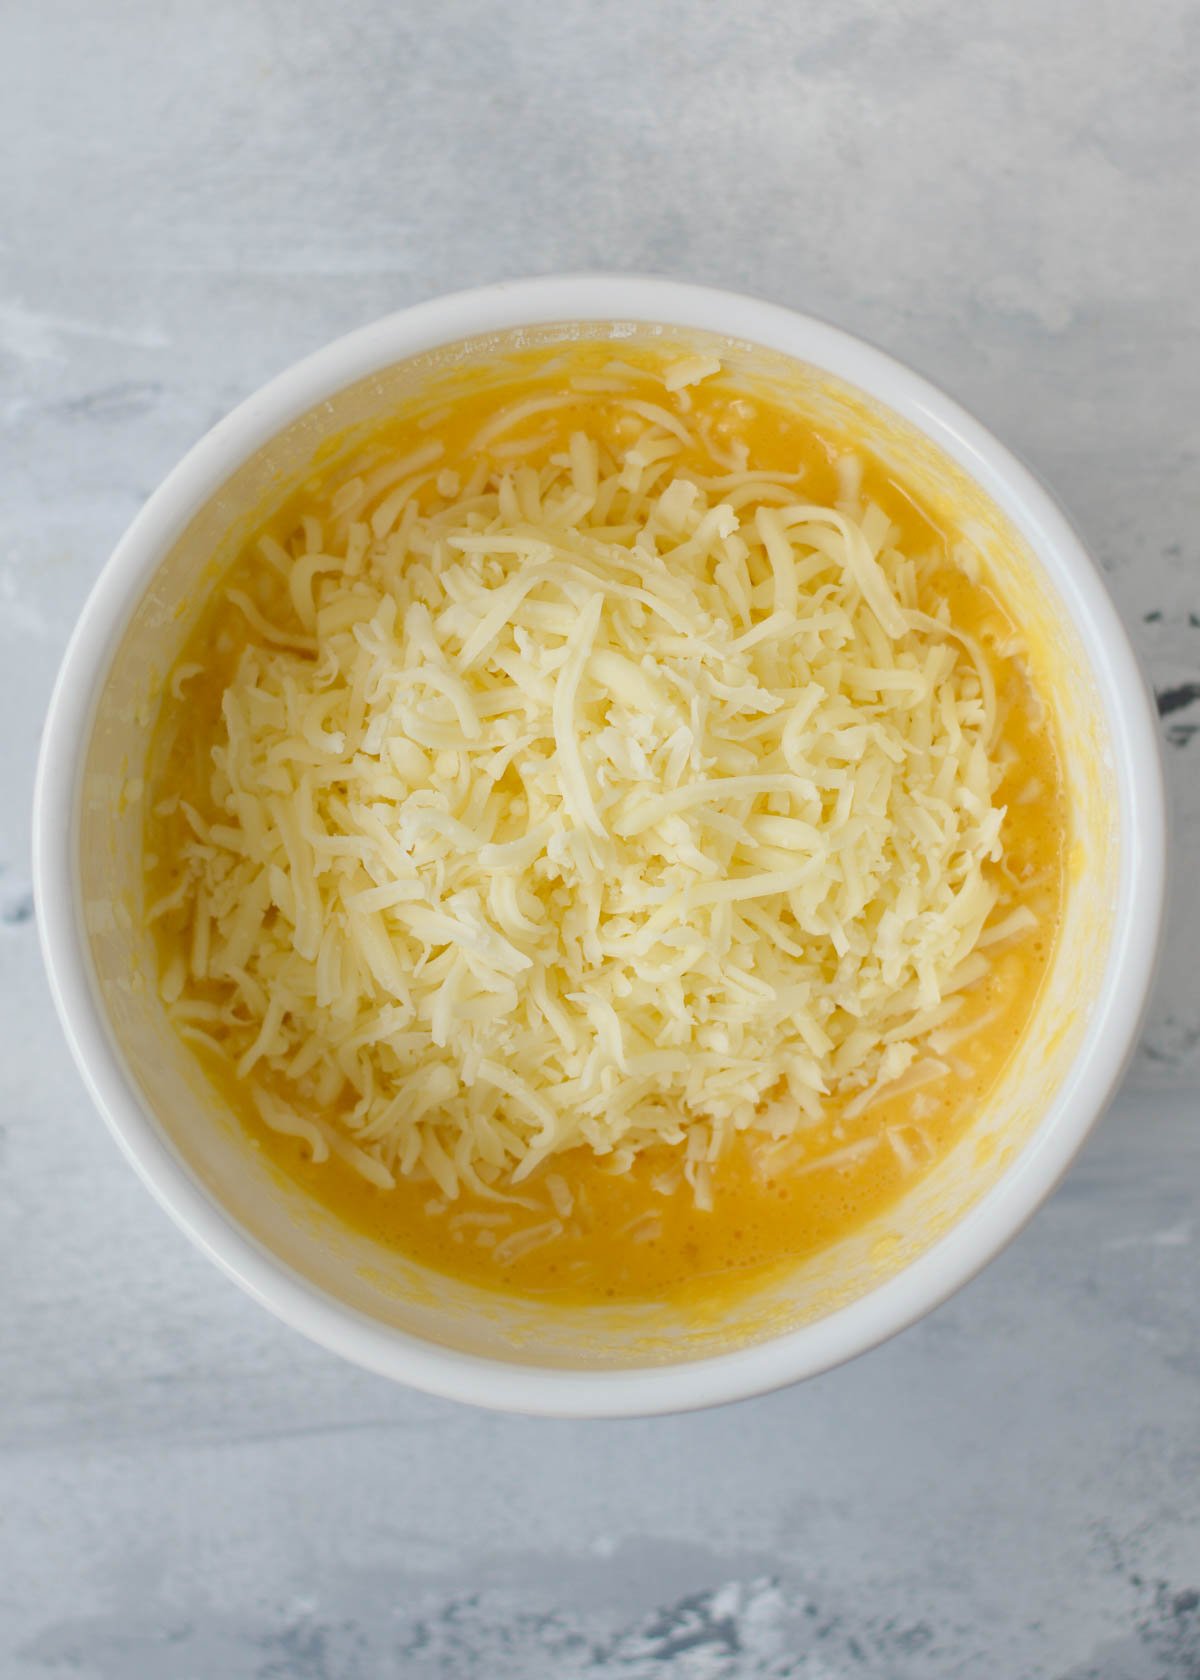
Wait
Allow this mixture to sit for at least 5 minutes. This step is extremely important! Coconut flour is super absorbent, but it needs time to soak up the egg. If you skip this step, your first chaffle will be very eggy while the rest of your chaffles will be very dry. Giving the mixture time to sit will help give you consistently delicious, fluffy chaffles. While you’re waiting, plug in your waffle maker and let it start preheating.
Cook
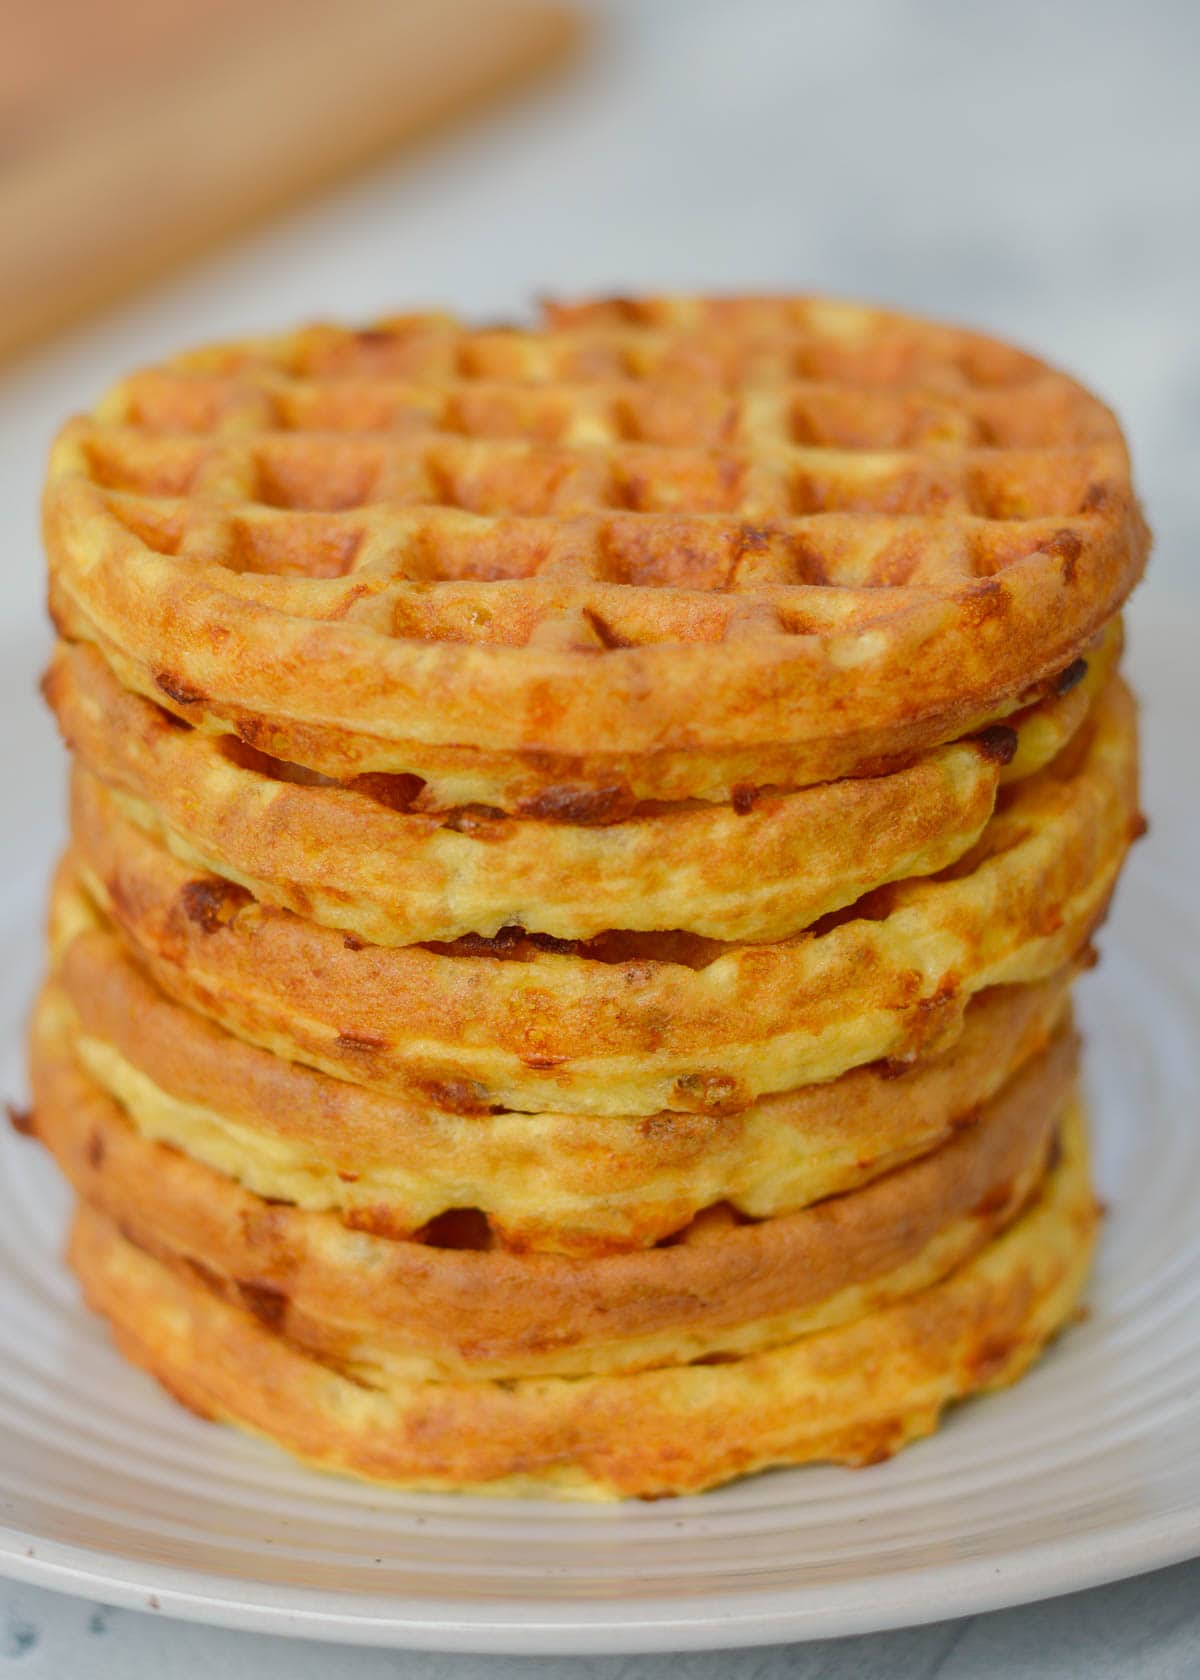
Once the waffle maker is preheated and the mixture has had time to sit, you’re ready to start cooking. Spoon 2 tablespoons of the mixture onto the hot waffle iron, spreading it around a bit to make it fill the entire mold. Close the lid and keep it closed until there is absolutely no steam coming from the appliance (about 4-5 minutes). Remove the chaffle from the maker when both sides are golden brown and cooked through. Chaffles will firm up as they sit (for crispiest exterior, let them cool on a wire rack).
Serve
Chaffles are SO versatile, there’s really no limit to how you could serve them! This version is fairly basic and can be neutral, spicy, or tangy, depending on the cheese that you choose. Here are some ideas:
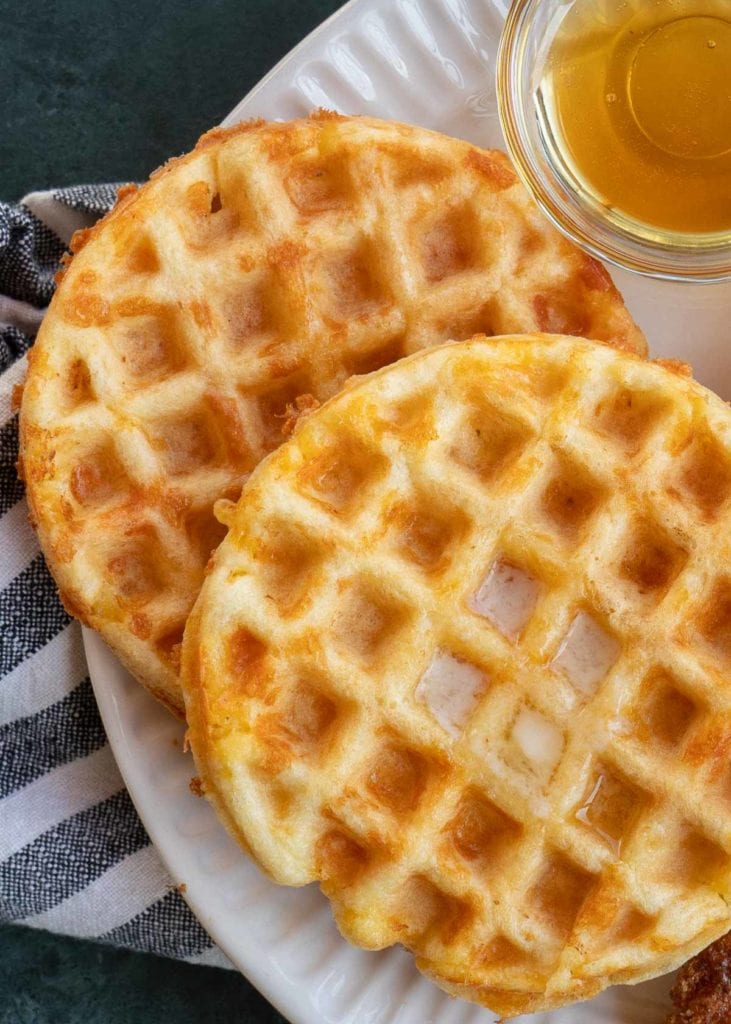
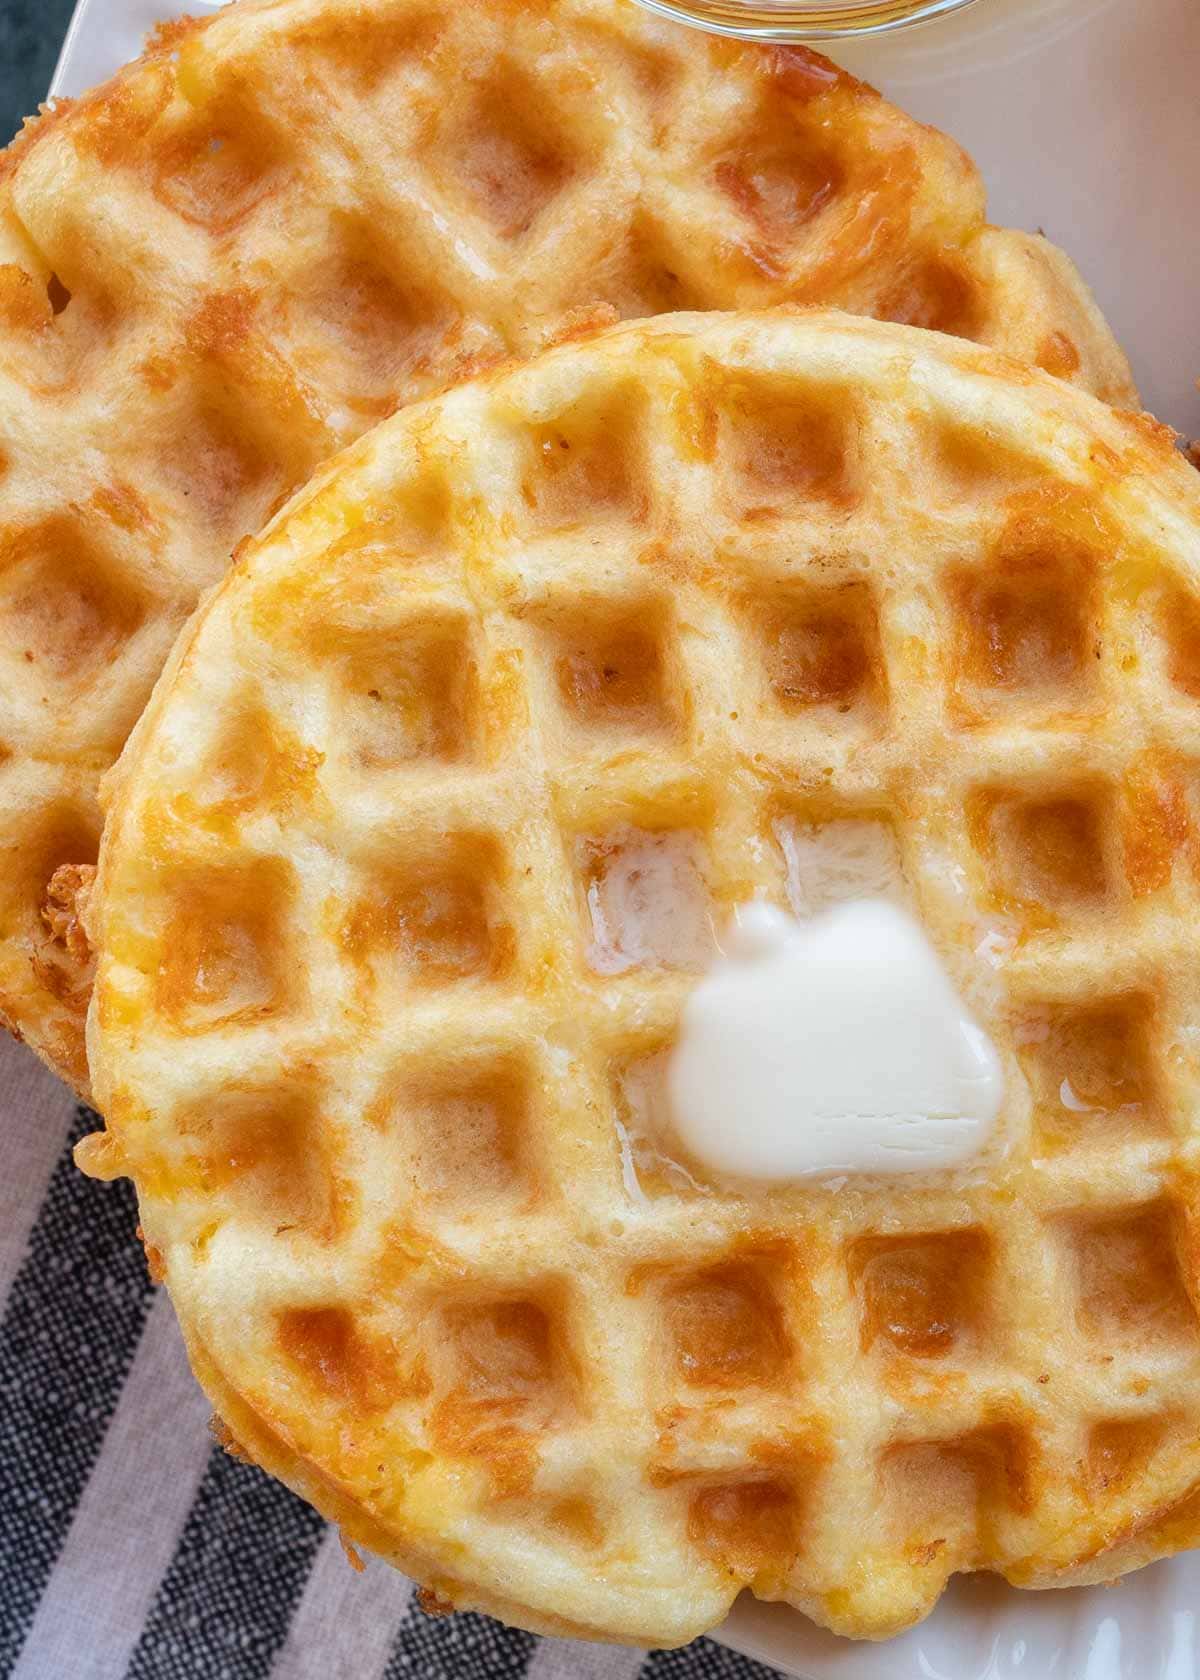
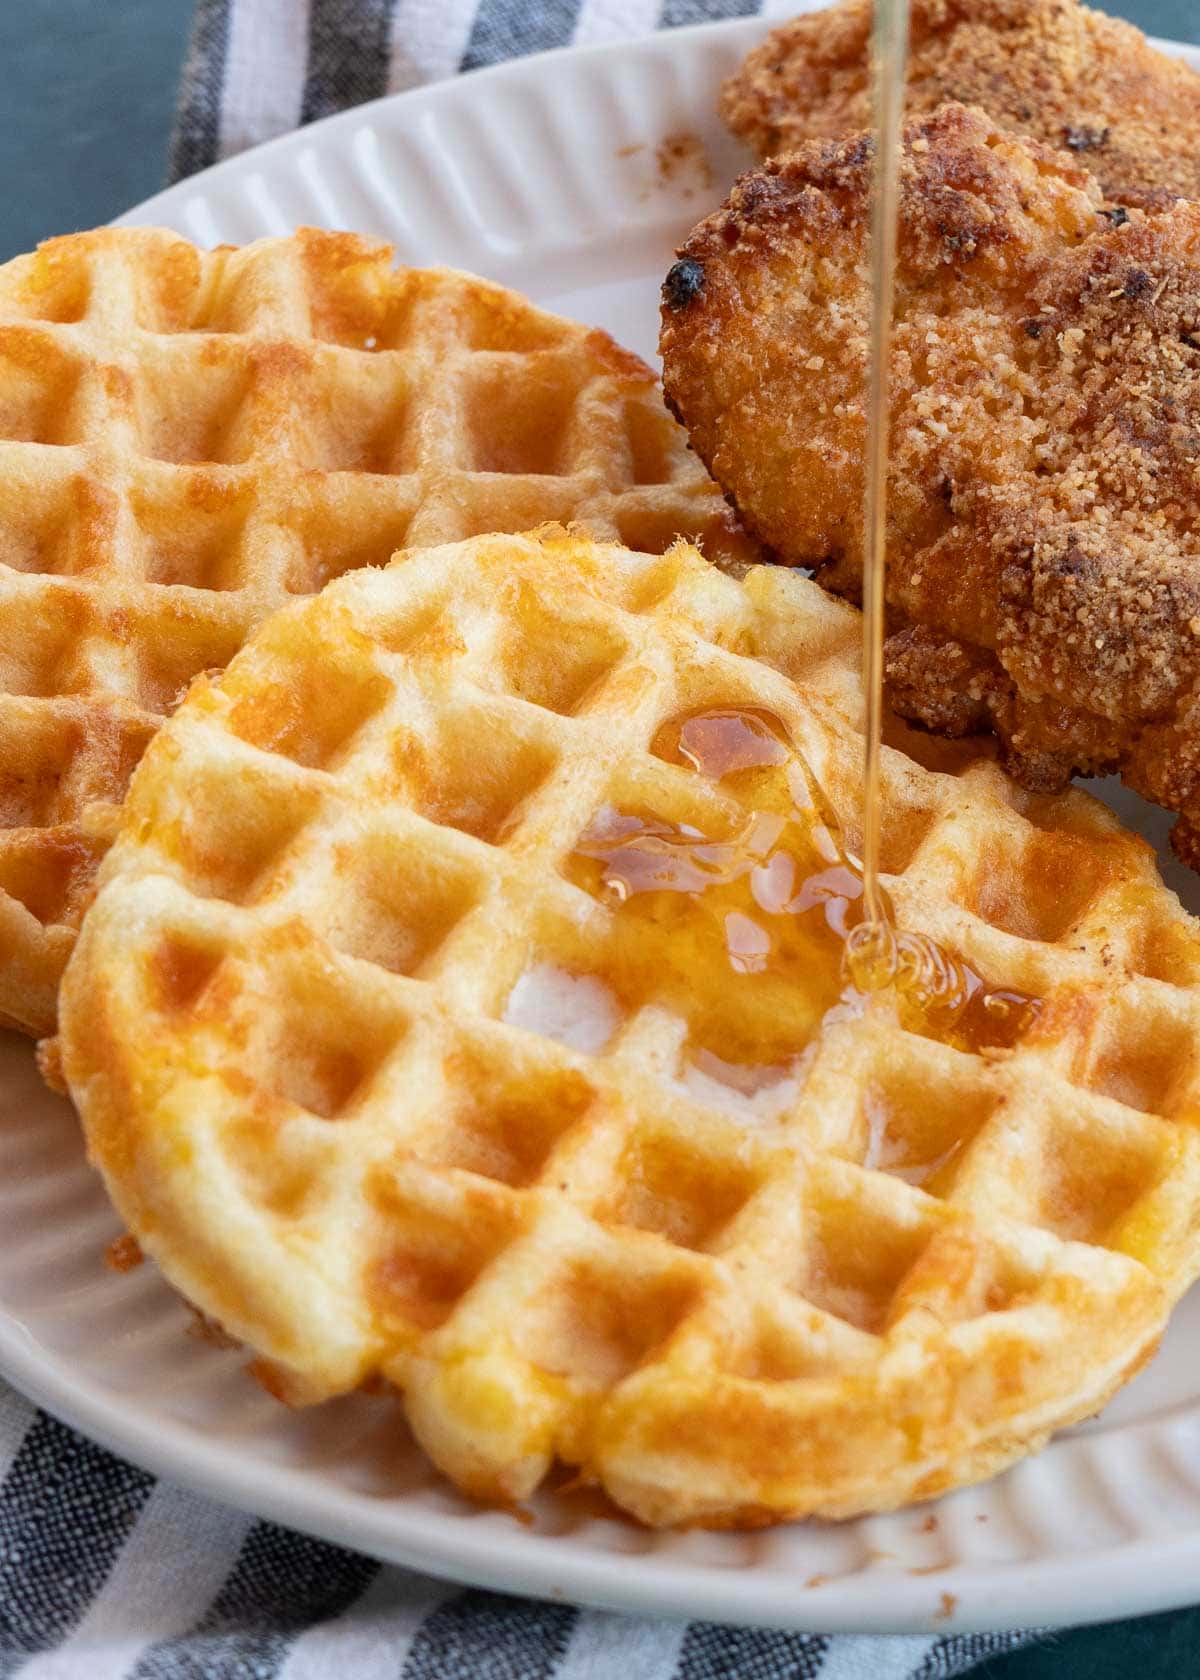
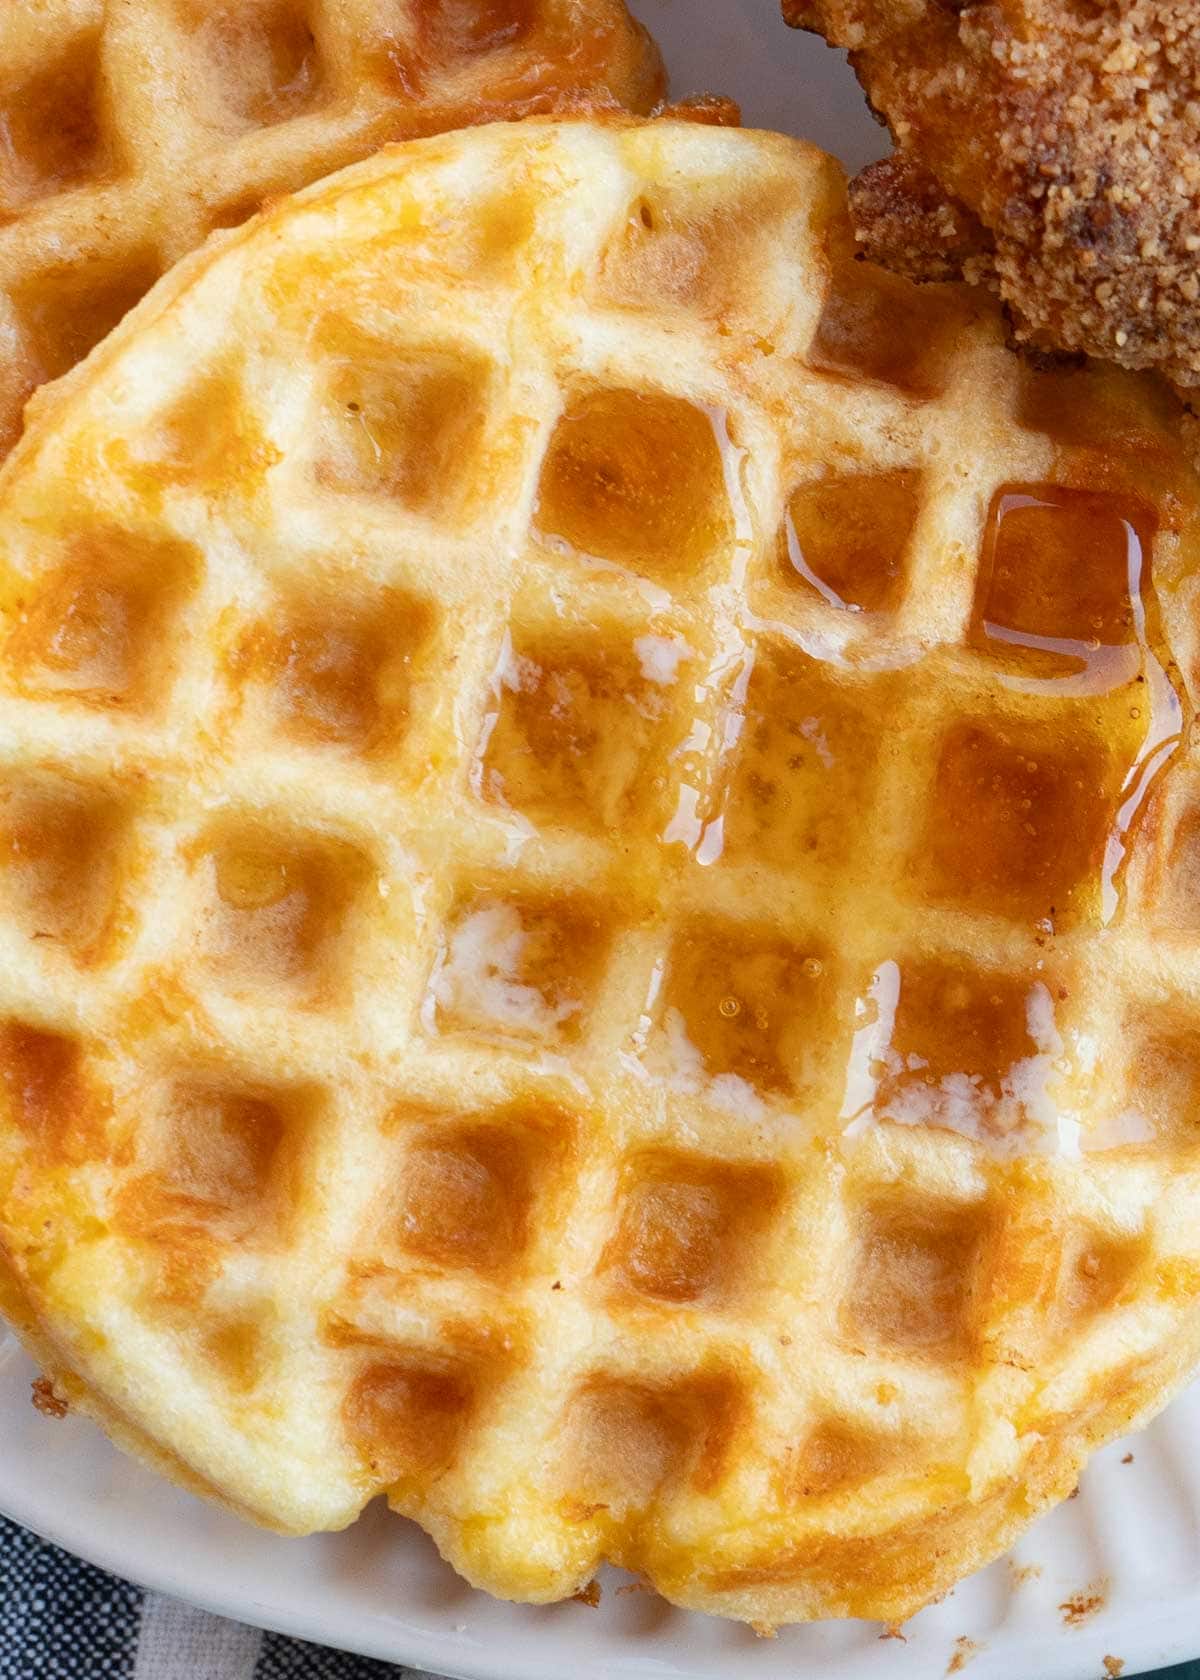
- Add butter and sugar-free syrup – These work well as waffles, especially if you don’t have a major sweet tooth. Sugar-free syrup, keto caramel syrup, or strawberry sauce all could add a nice sweet touch without going overboard.
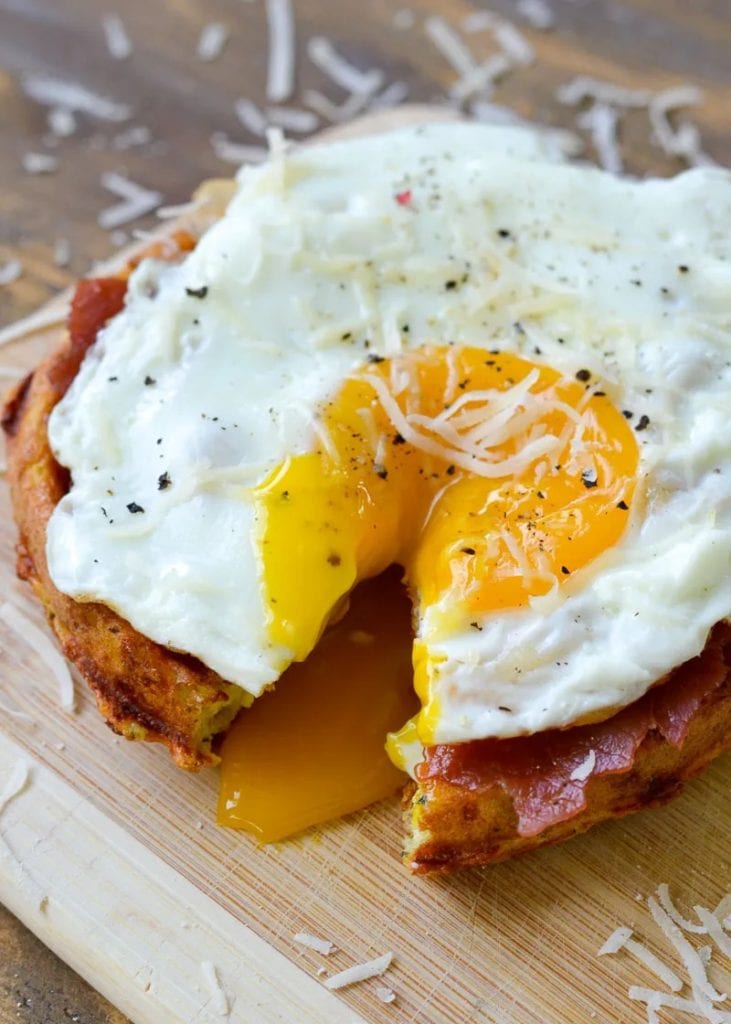
- Make toast – These make perfect toast; just leave them in the maker a couple extra minutes or pop them into the toaster to firm them up even more. Make an avocado toast, cover it in chili and cheese, or top it with some barbecue chicken and slaw!
- Use it as a burger bun – If you want a super filling, indulgent meal, use these as a bun for a keto bacon cheeseburger! For a spicy twist, add a jalapeno popper stuffing. On quick weeknights, we air fry our burgers to keep it simple.
- Turn it into a sandwich – We love making simple turkey club sandwiches and tuna melts for easy lunches. Crockpot Crack Chicken makes chaffle sandwiches a great weeknight dinner option, too. For cookouts, make Chicken Bacon Ranch Sandwiches for a great low-carb option.

Store
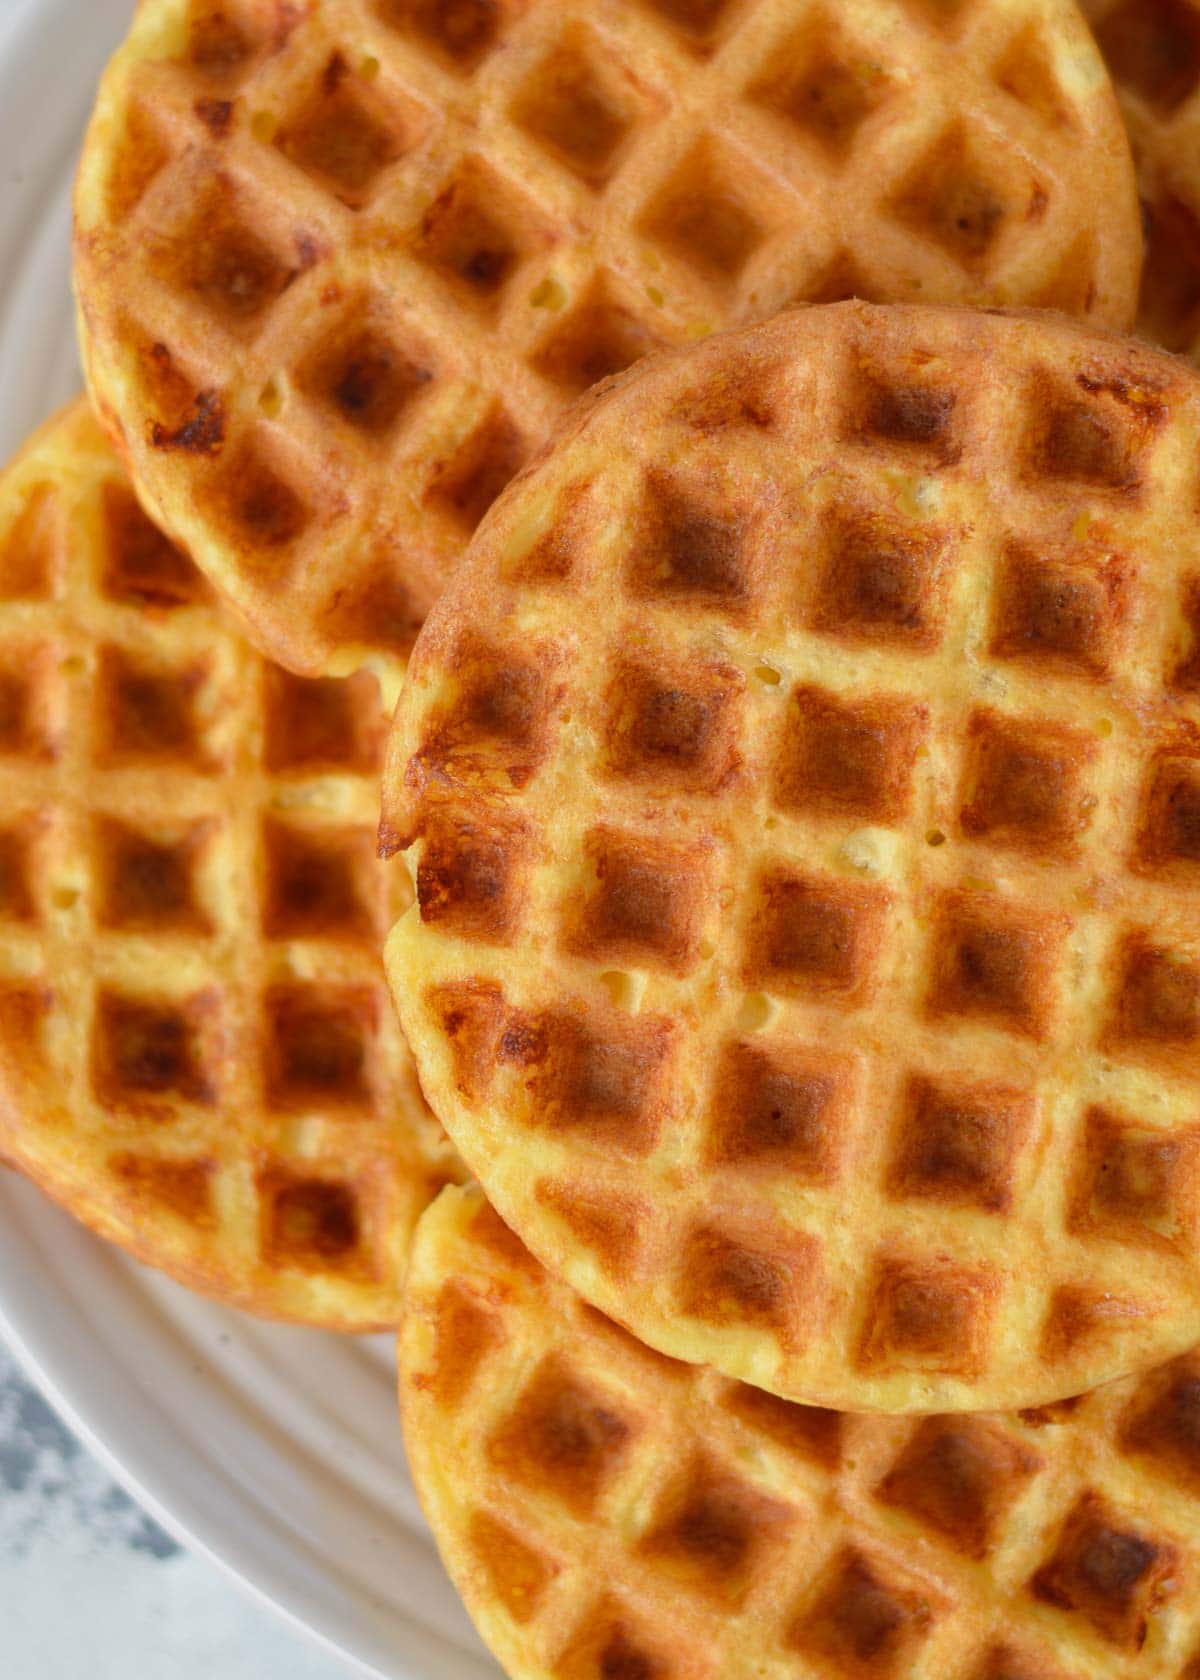
Chaffles should be kept in an airtight container in the fridge up to 5 days. Make sure they’re cool before storing them away–Any residual heat turns into condensation which will make the chaffles soggy.
Freeze
Yes, these freeze wonderfully! Eat within 3 months for the best texture, though vacuum sealing 2-3 chaffles at a time could help them last up to 6 months. Keep scrolling for more freezer tips.
Chaffle Freezer Tips:
- Make sure they are cool – Allow the chaffle to completely cool and dry before freezing. Any heat or moisture can lead to freezer burn.
- Keep them protected – If you’re trying to keep these frozen for more
- Don’t let them stick together – If you don’t want to wrap them and plan to eat them within a couple weeks, just stick a square of parchment paper between each chaffle to make it easy to pull out one at a time. Alternatively, you could freeze them in a single layer on a plate for 2 hours, then transfer them to a freezer bag.
How to Reheat Chaffles:
- Microwave – Not crispy but quick. Reheat for 20-30 seconds, flip, and repeat until warmed through.
- Toaster – Pop in the toaster; use a low setting if you’re worried about too much browning. If chaffle is frozen, microwave for 10 seconds before toasting.
- Oven – Place on a baking sheet in a single layer. If you want them crispier, have them up on a wire rack. Bake at 350 for 4+ minutes. Great method when reheating several portions at once for a crowd.
- Air Fryer – Super crispy. Preheat to 300 degrees for 3 minutes, then cook 3-4 minutes.
- Waffle Maker – Preheat waffle maker, place chaffle in, close and cook 1 minute.
If your chaffles are frozen, microwave for about 10 seconds before toasting, air frying, and reheating in the waffle maker to help thaw the center. You may also need to add extra time to your reheating method of choice.
If you like this chaffle, you’ll love these easy keto recipes!
- Garlic Bread Chaffles – Such an easy side dish for any meal! This is a great way to use up leftover chaffles, too!
- Chaffle Pizzas – It’s like a keto twist on an old school lunchable! Perfect size for kids, snacks, or light lunches with a side salad.
- Coconut Flour Muffins – These are the absolute perfect, light, airy, most amazing muffins! Coconut flour gives these the best texture; you’ve got to try them.
- Keto Bacon Egg and Cheese Bites – Another great meal prep recipe that’s also low-carb and nut-free! These freeze easily and reheat super well.
- Check out this post for more chaffle ideas or this post for more coconut flour recipes.
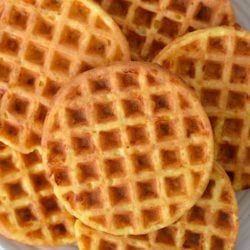
Coconut Flour Chaffle
Equipment
Ingredients
- 3 eggs
- 2 tablespoons coconut flour not packed
- ½ teaspoon baking powder
- 1 cup shredded cheese*
Instructions
- In a small mixing bowl, whisk eggs. Add coconut flour, baking powder and shredded cheese then stir to combine.
- Allow mixture to sit for at least 5 minutes, giving the coconut flour enough time to absorb the moisture and create the perfect texture. This part is very important for consistent, delicious chaffles. While you are waiting, preheat the mini waffle maker.
- Once the machine is preheated and the mixture has had time to sit, spoon 2 tablespoons of the mixture onto the hot waffle iron. Spread it around a bit to make it fill the entire mold, then close the lid. Keep the lid closed until there is absolutely no steam coming from the appliance (4-5 minutes).
- Remove from the maker when both sides are golden brown and cooked through. Continue with remaining batter for 6 coconut flour chaffles.

