Try these Cheesy Keto Breadsticks for a low-carb appetizer or light lunch. At just 1.9 net carbs per breadstick, this is a great low-carb game day snack!
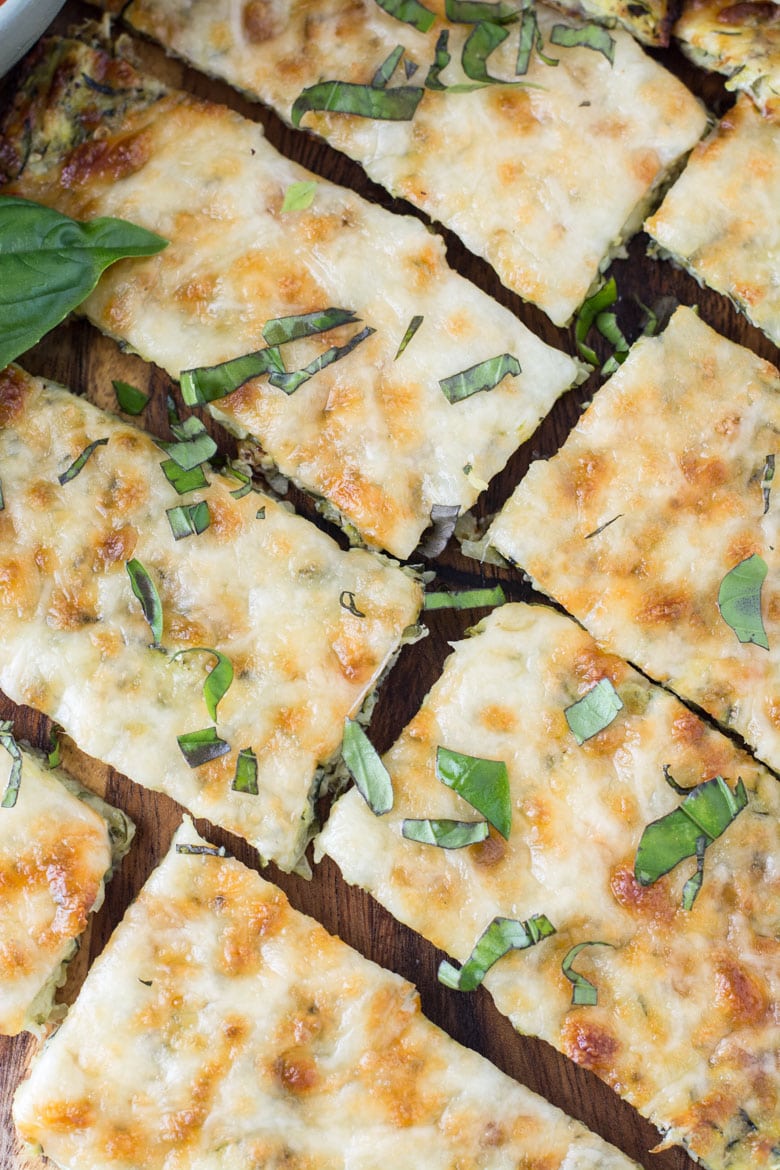
I have been making these zucchini cheese breadsticks once a week for months now. I cannot believe I haven’t shared them yet!
The first time I made an alternative low-carb breadstick, it was a cauliflower recipe and it just didn’t work out. For a long time, I was wary of those veggie- and cheese-filled keto recipes, but these keto breadsticks are everything you want from a low-carb appetizer!
This recipe isn’t difficult and has pretty basic ingredients. The only thing “tricky” you might need is to be sure you’ve purchased a low-carb (keto-friendly) marinara to dip the cheesy breadsticks in.
Ingredients in Keto Breadsticks
The ingredients list for the low-carb homemade cheesy breadsticks is short and simple:
- Zucchini
- Garlic
- Italian seasoning
- Salt
- Eggs
- Shredded mozzarella cheese
- Red pepper flakes (optional)
- Fresh basil (optional)
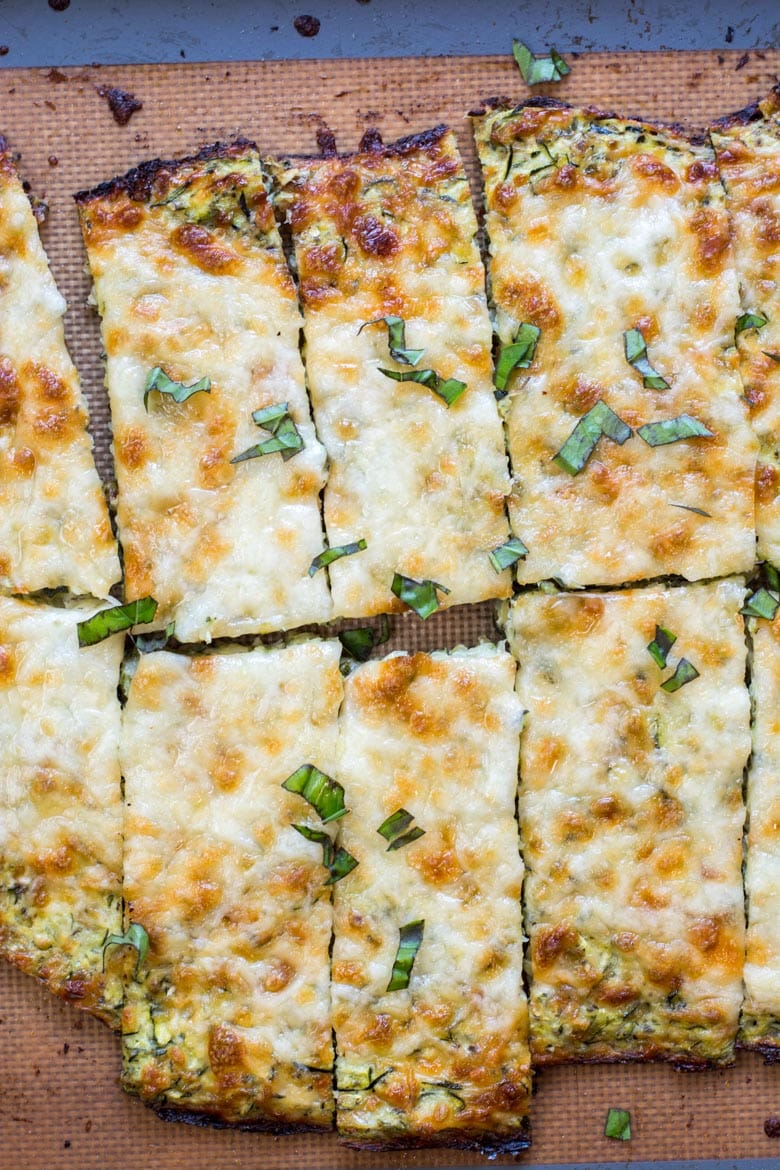
How to Make Keto Breadsticks
This is a recipe where the prep work absolutely matters. If the zucchini isn’t completely dry, it will result in a very soggy unappetizing bread.
Here’s how I make this recipe:
- To remove all the moisture from the zucchini, I shred it and transfer it to a good sturdy dish towel (a thin one will be soaked through very quickly). Then, I squeeze as much water as possible.
- I unroll the dish towel and let the zucchini rest 5-10 minutes and do another round of squeezing.
- Once the zucchini is very dry, transfer it to a mixing bowl and add the garlic, Italian seasoning, eggs and mozzarella cheese.
- Pat the dough into rectangle on a greased or silicone-lined baking sheet.
- Bake! The dough is baked just like that for 20-22 minutes until it has dried out and begun to brown.
- Then, top with more cheese and pop back in the oven until the cheese is bubbly.
How Many Carbs Are in This Recipe?
I sliced these into 12 equal size breadsticks and that came out to 1.9 carbs per stick. I ate three breadsticks, a few slices of salami and a small garden salad for lunch and it was about 8 net carbs and I was very full.
Tips for Making Keto Cheesy Breadsticks
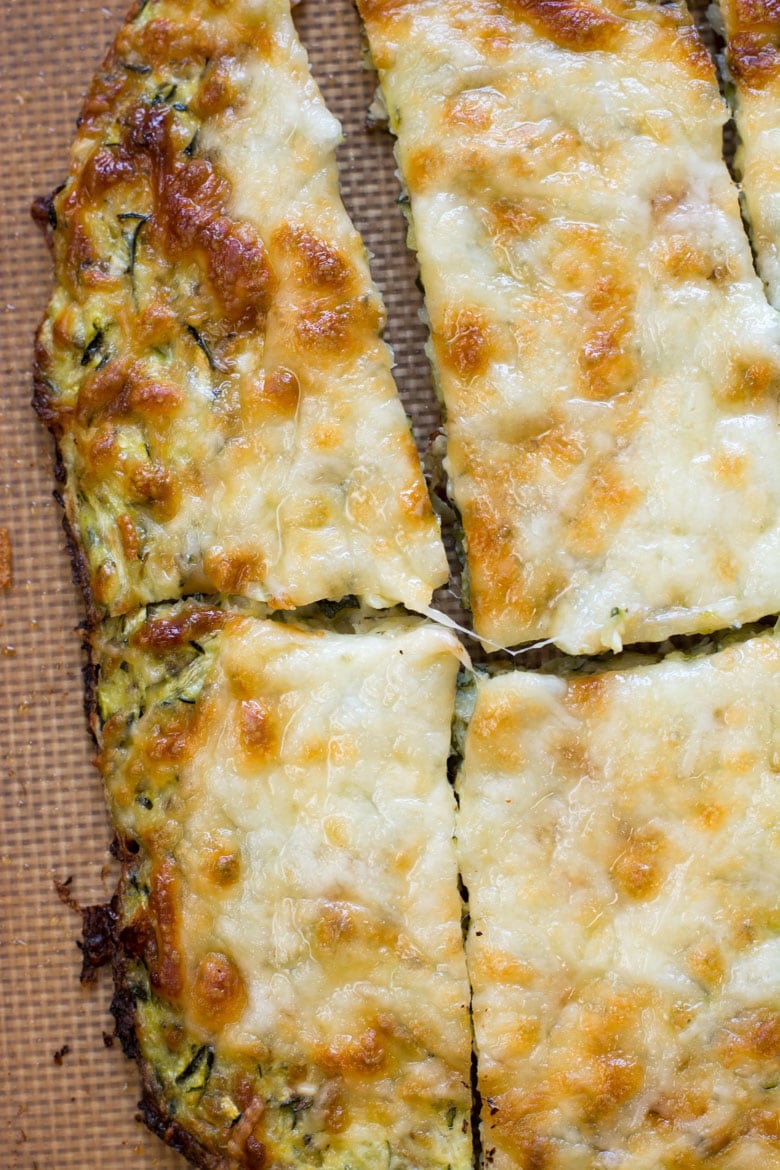
- The second round of squeezing the shredded zucchini is where I find the success of the recipe. Even if you believe you have it completely dry the first time, after resting there will be more moisture (where does it come from?!). Take it from me, DON’T SKIP THIS STEP!
- When patting out the “dough,” take care not to pat it too thinly. Imagine the texture of a regular breadstick verses a thin crust pizza. If you pat the breadsticks out too thinly, you will end up with a thin crispy crust verses a soft cheesy breadstick.
- This is the kind of dish you can make a little more substantial if you want by adding meat, like some pepperoni slices.
- If you dip the keto breadsticks in marinara sauce, make sure it is a low-carb option like Rao’s.
How to store Cheesy Keto Breadsticks
After cooking, these should be stored in the fridge up to 3 days. You can reheat in the microwave, but it does make it a bit soggy. I prefer to reheat in the air fryer, oven, or in a skillet on the stove.
If you are meal prepping for longer-term storage, you could bake the zucchini crust and then freeze on parchment paper (with pieces of parchment paper between each crust if freezing multiple batches) in a freezer bag. This should last around 2 months.
What to serve with Keto Cheesy Bread
These cheesy zucchini breadsticks really make an Italian-flavored meal for me! I love then with this Instant Pot Pizza Soup and these Keto Pizza Stuffed Peppers. It would also be a fantastic side with this Italian Chopped Salad or an Easy Keto Italian Pepperoni Wrap. You could serve with this AMAZING Spaghetti Squash Lasagna or these Italian Meatballs, too!
More Keto Bread Recipes:
- Keto Pretzel Bites
- Keto Cinnamon Rolls
- Keto Sausage Cheddar Biscuits
- Keto Dinner Rolls
- Cheesy Keto Biscuits
Want more? Check out this list of 30+ Keto Bread Recipes!
Keto Cheesy Zucchini Breadsticks
Video
Ingredients
For the breadsticks
- 2 zucchini shredded (once dried out this is about 4 cups)
- 1 tablespoon minced garlic
- 1 tablespoon Italian seasoning
- 1/2 teaspoon salt
- 2 large eggs if extra large is all you have reduce to 1
- 2 cups shredded mozzarella cheese
For the topping
- 1 cup shredded mozzarella cheese
- red pepper flakes and basil optional
Instructions
- Preheat the oven to 425 degrees
- Shred the zucchini and place in a sturdy dish towel. Squeeze as much moisture as possible from the zucchini. When you feel like you've gotten as much as you can out unroll the towel and allow it to rest for several minutes then try again. Do not skip the second step, the zucchini needs to be extremely dry.
- Transfer the dry zucchini to a mixing bowl and combine with the garlic, spices, eggs and cheese.
- Place the dough on a greased or silicone lined baking sheet and spread into a rectangle. **Do not pat too thin, or it will be more like a thin crust pizza than breadsticks**
- Bake for 20-22 minutes until the breadsticks have browned slightly and dried out.
- Remove from the oven and top with remaining cheese. Bake for 5-7 more minutes until melted and bubbly.
- Cut into 12 strips.






Sara Welch says
This is my kind of starter dish! This will be perfect to serve at our next football game! Delish!
Taylor says
This is brilliant! Such a yummy low carb breadstick recipe!
Dorothy at Shockingly Delicious says
I can see this for lunch TODAY!
Katerina @ diethood .com says
This is such a fantastic recipe!! A must try!
Vik says
Awesome appetizer! Very tasty indeed
Nicholas Rugado says
2 zucchini, shredded (once dried out this is about 4 cups)
I’m going to make this, are you using a fine shred? Are these 2 super large zucchini to make 4 cups after dried out?
Annie says
Hi Nicholas, I just use the regular shred size on my box grater, although I think a fine shred would be fine as well. I use two large zucchini with the ends trimmed to get this amount. I just added a step by step video to the post and it shows the zucchini I used for reference. I hope you enjoy, we love this!
vid says
These breadsticks look absolutely delicious! I can’t wait to try this recipe. Perfect for satisfying those carb cravings without breaking my diet. Thanks for sharing!
Daman says
These cheesy keto breadsticks are amazing! I’ve been missing bread on my keto journey, and these hit the spot perfectly. The flavor is so good, and they’re super easy to make. Definitely a new favorite in my house!