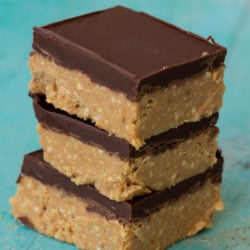
These No Bake Peanut Butter Bars are full of crunchy peanuts and rich dark chocolate! These bars are the perfect way to satisfy your sweet tooth!
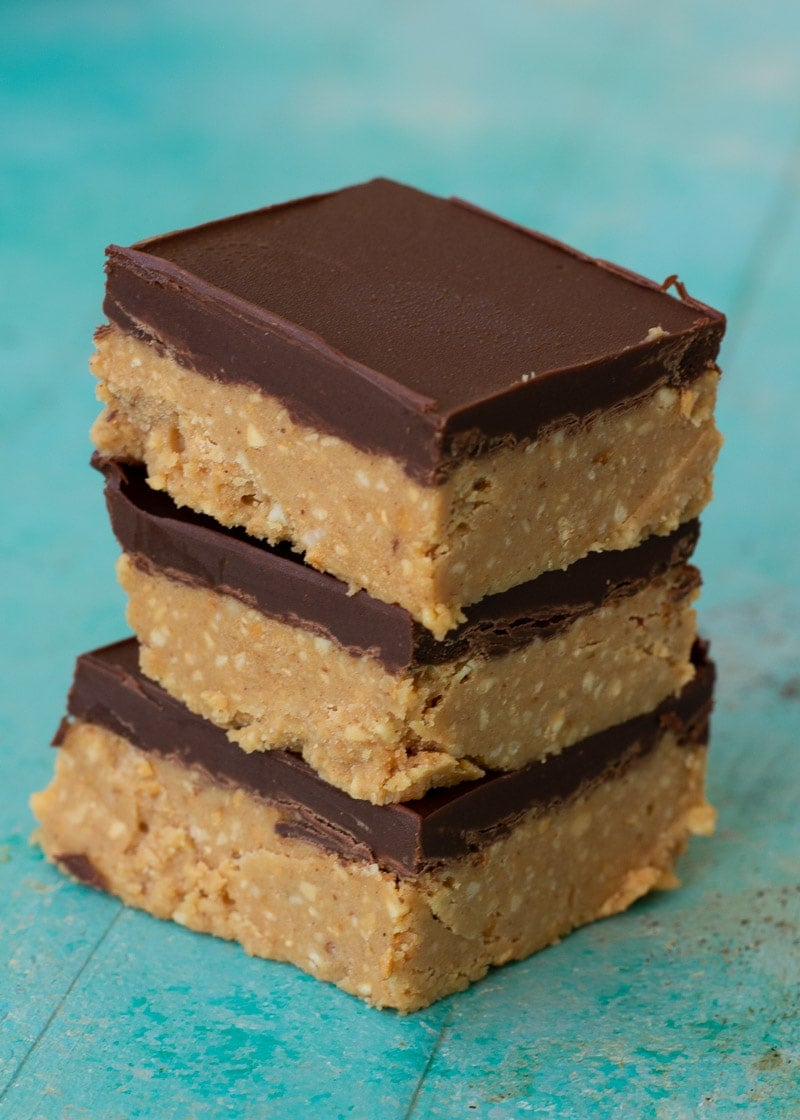
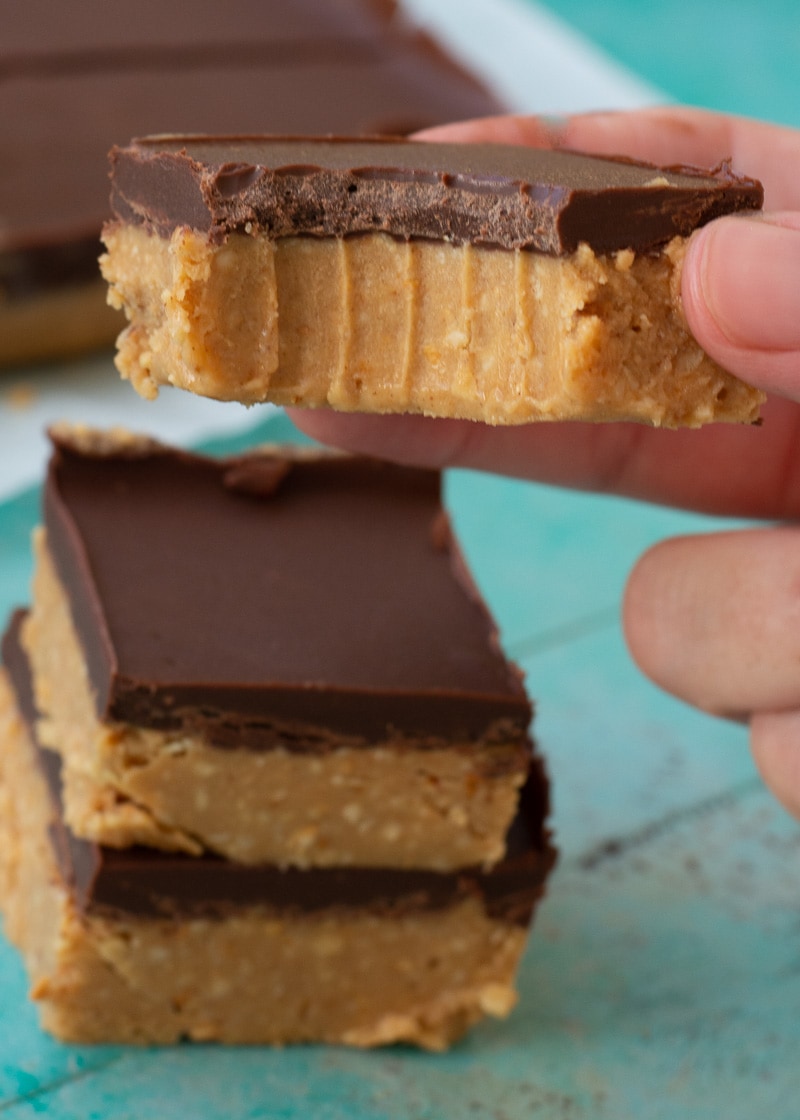
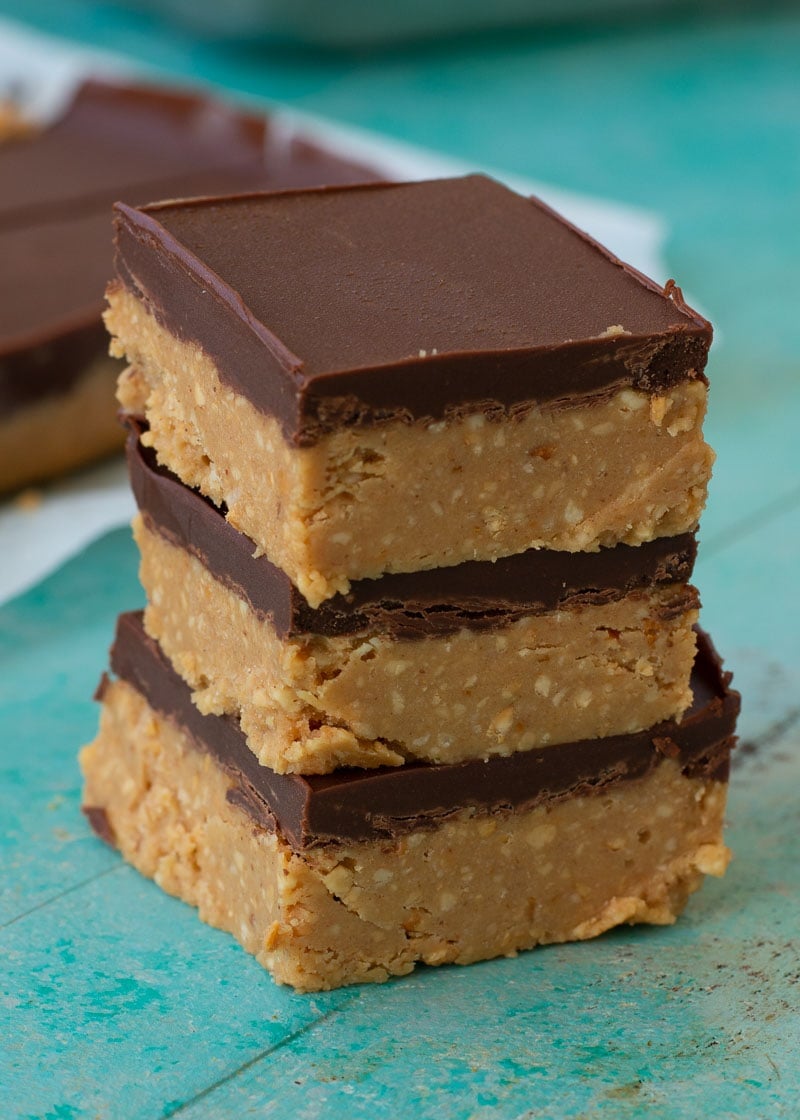
These No Bake Peanut Butter Bars are the best keto-friendly sweet treat! These have a classic texture–the smooth chocolate layer atop a creamy-and-crunchy peanut butter base. It’s a comforting delight, perfect for an after school snack or dessert!
These keto bars are gluten free, grain free, sugar free, and diabetic friendly. They are great for gifting to teachers, family members, or neighbors, too. Just wrap up in some cute butcher’s paper, plastic, or gift boxes (these would be cute with a festive label, or these would fit two pretty well!) for an inexpensive, thoughtful present!
These are easy to meal prep as well. Make a batch (or several), cut into pieces, and freeze whatever you won’t eat within the next five days. These can be great for some travel as you can take them out of the freezer in the morning, toss them into a lunchbox, and they’ll be thawed and ready in a few hours!
Keto Peanut Butter Bar Ingredients
Here’s a quick overview of what you’ll need. For specific measurements, keep scrolling down to the printable recipe card.
- Roasted peanuts – These will get ground up to a graham cracker crumb consistency
- Butter, powdered monk fruit sweetener, creamy peanut butter, coconut flour, and vanilla extract – Makes the bar SO creamy
- Lily’s sugar free chocolate chips, creamy peanut butter, and heavy cream – This gets melted to form the delicious dark chocolate layer on top.
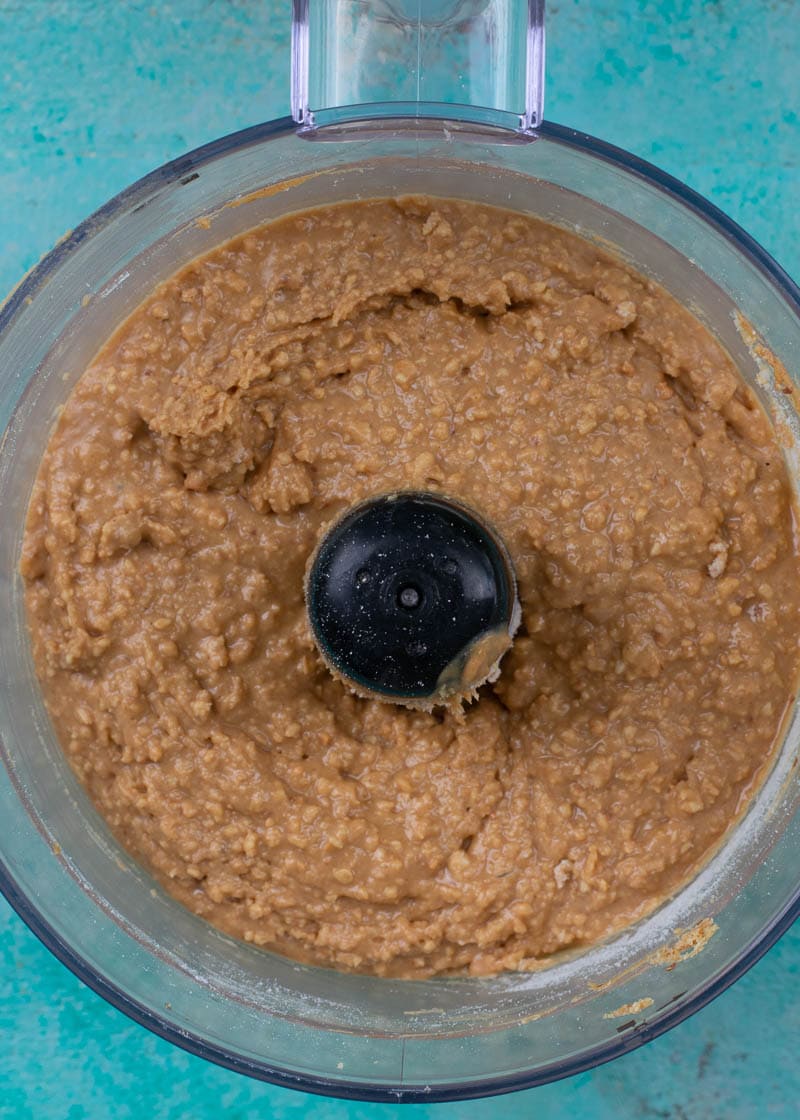
How to make Keto Peanut Butter Bars
This recipe has several steps, but it’s still very easy to make! This recipe is perfect for beginner cooks or a family meal prep day! The majority of the work takes place in a food processor or a very strong blender.
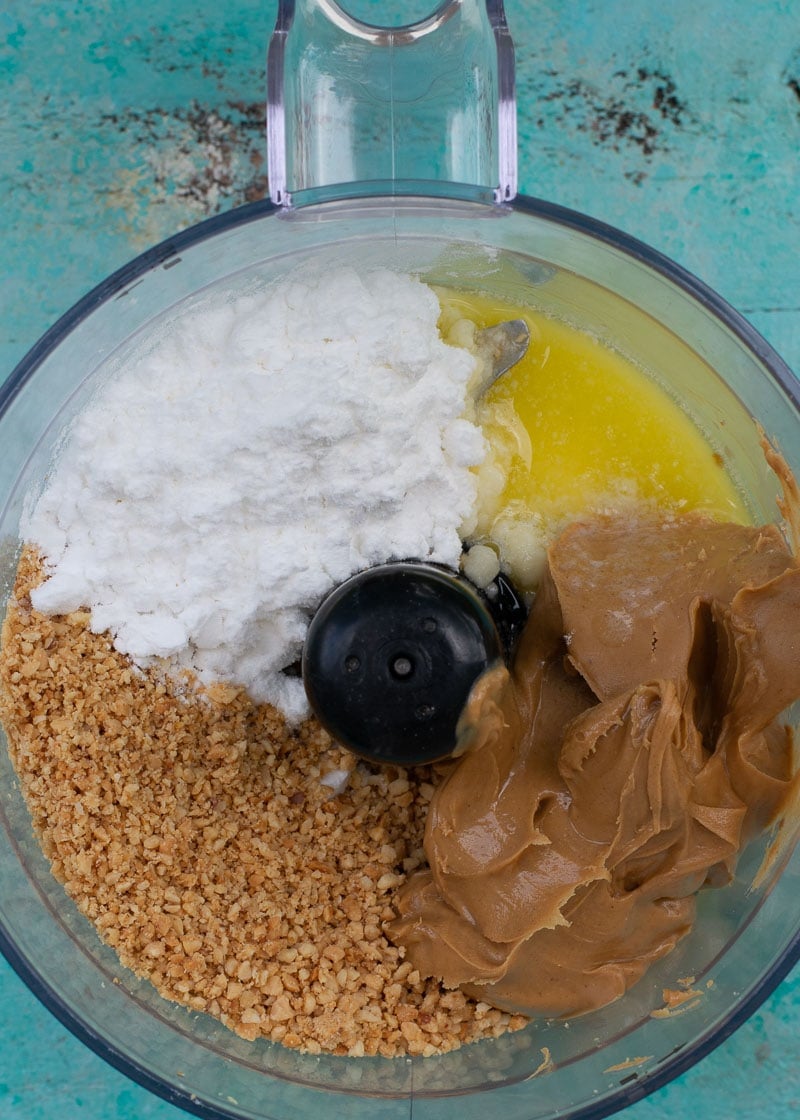
First, you’ll start by grinding your peanuts in a food processor until it crumbles to the consistency of graham cracker crumbs. Then you’ll incorporate your creamy ingredients (like butter, sweetener, and peanut butter), followed by coconut flour and vanilla extract. This multi-step process will require you to scrape the sides of the processor down with a spatula several times, but the stop-and-go is worth it for these delicious bars!
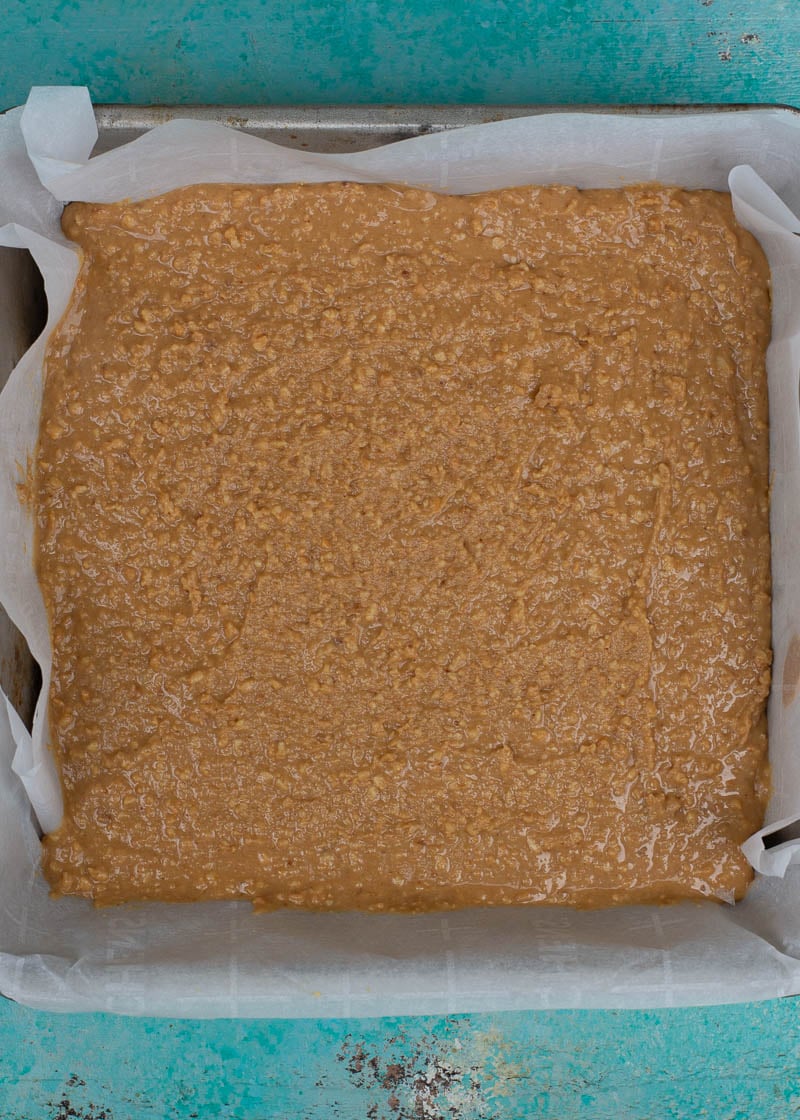
Finally, scrape the thick batter onto a pan (8×8 lined with parchment paper). Spread it to a nice even layer and allow it to chill for 30 minutes. While this is chilling, heat the heavy cream and add chocolate and peanut butter. Remove from heat and stir until super smooth. Pour this over the chilled peanut butter layer and chill for another hour before cutting and serving.
How to store No Bake Peanut Butter Bars
These peanut butter bars are best kept chilled in an airtight container in the fridge for up to 5 days. To keep fresh for longer, freeze and eat within 3 months for the best taste and texture. These will get softer as they get closer to room temperature, so keep that in mind if serving for a party or gifting to others.
When storing these, make sure to place a layer of parchment or wax paper between the bars if storing on top of one another. This will help prevent them from sticking or getting misshapen.
Tips and Tricks
- Use a high-quality food processor or blender. This mixture is very thick, and weaker appliances may not be able to handle this.
- Make sure to line the pan with parchment paper, aluminum foil, or wax paper before spreading the mixture. The peanut butter layer is quite sticky, and it would be very difficult to remove pieces if you put this directly into an unlined pan.
- Use roasted peanuts or roast raw peanuts for this. Roasted peanuts are able to achieve a creamier texture and provide a greater depth of flavor. You can use salted or unsalted (if using salted, make sure to use unsalted butter).
- Don’t skimp on the chilling time. You want the peanut butter layer to be cold and well-set so that the warm chocolate layer doesn’t melt and seep into the peanut butter layer. If you don’t allow it to chill long enough before cutting, you’ll have a gooey mess.
What to serve with Keto Peanut Butter Bars
This is the perfect afternoon treat to power you through the rest of a long day, especially when served with a Keto Milkshake! This Pumpkin Spice Latte is low carb and a great option if you love coffee!
Other Keto Peanut Butter Desserts
No Bake Peanut Butter Bars (keto + low carb)
Equipment
Ingredients
Peanut Butter Filling
- 1 cup roasted peanuts crushed to a graham cracker crumb consistency
- 4 tablespoons butter melted
- ½ cup powdered monk fruit
- ¾ cup creamy peanut butter
- 2 tablespoons coconut flour
- 1 teaspoon vanilla extract
Chocolate Topping
- 1 cup Lily’s Sugar Free Chocolate Chips chopped
- 2 tablespoons creamy peanut butter
- ½ cup heavy cream
Instructions
- Place the peanuts in a food processor and pulse until it reaches a graham cracker crumb consistency. (see photos in post)
- Push the crushed peanuts to one side of the processor and add the melted butter, sweetener, and peanut butter. Pulse several times until well blended. You will need to stop and scrape down the sides as you go.
- Add the coconut flour and vanilla extract, pulse a few more times.
- Pour the batter (it will be thick, but easy to scrape out) of the food processor into a parchement paper lined 8×8 pan. Spread the peanut butter into a nice smooth layer. Chill for 30 minutes.
- In a small sauce pan heat the heavy cream. When it is piping hot add the chopped chocolate and peanut butter. Remove from the heat and stir until the mixture is smooth. Pour over the peanut butter layer and chill at least 1 hour before cutting.
